Drying & Preserving Guide
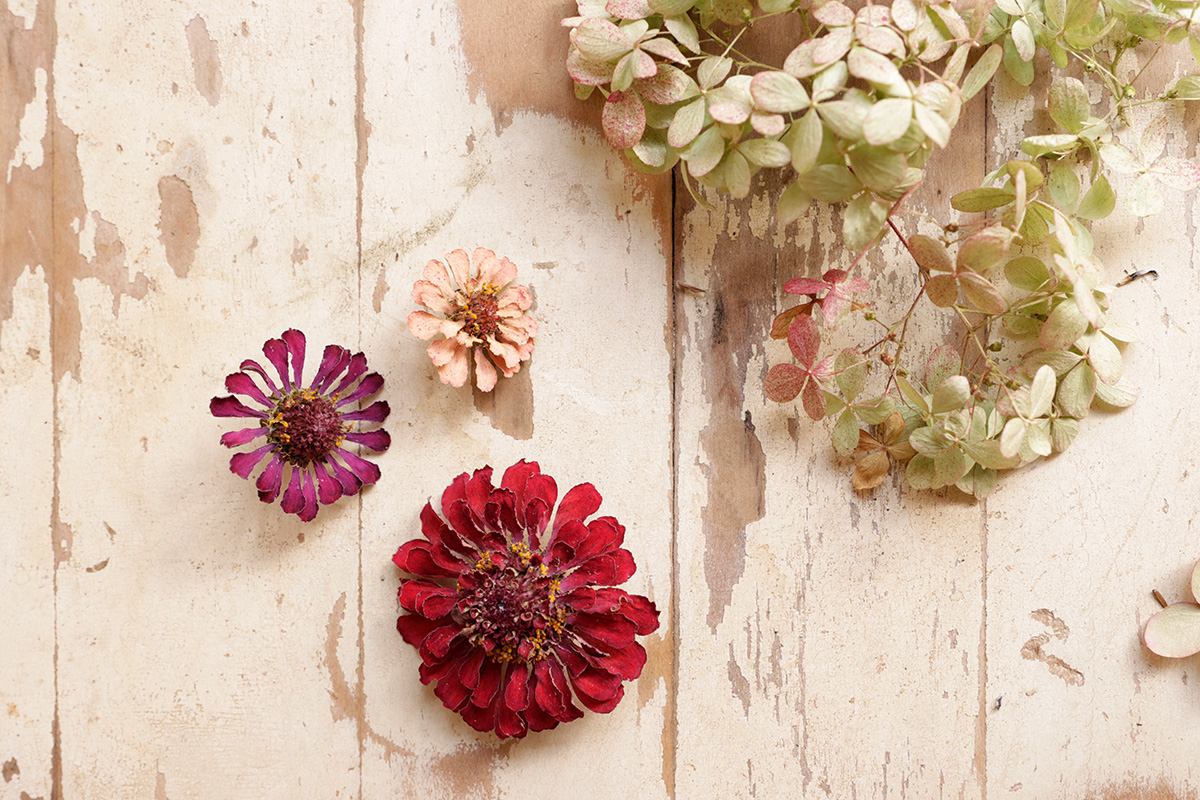
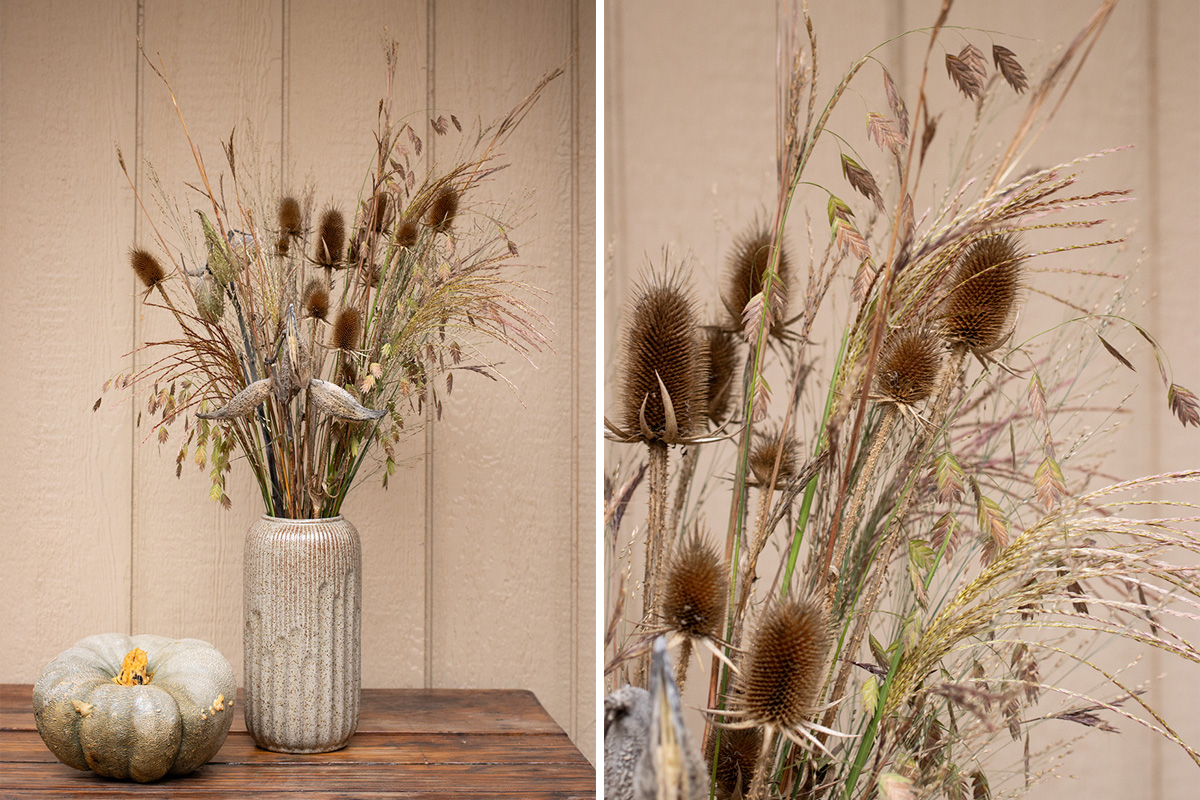
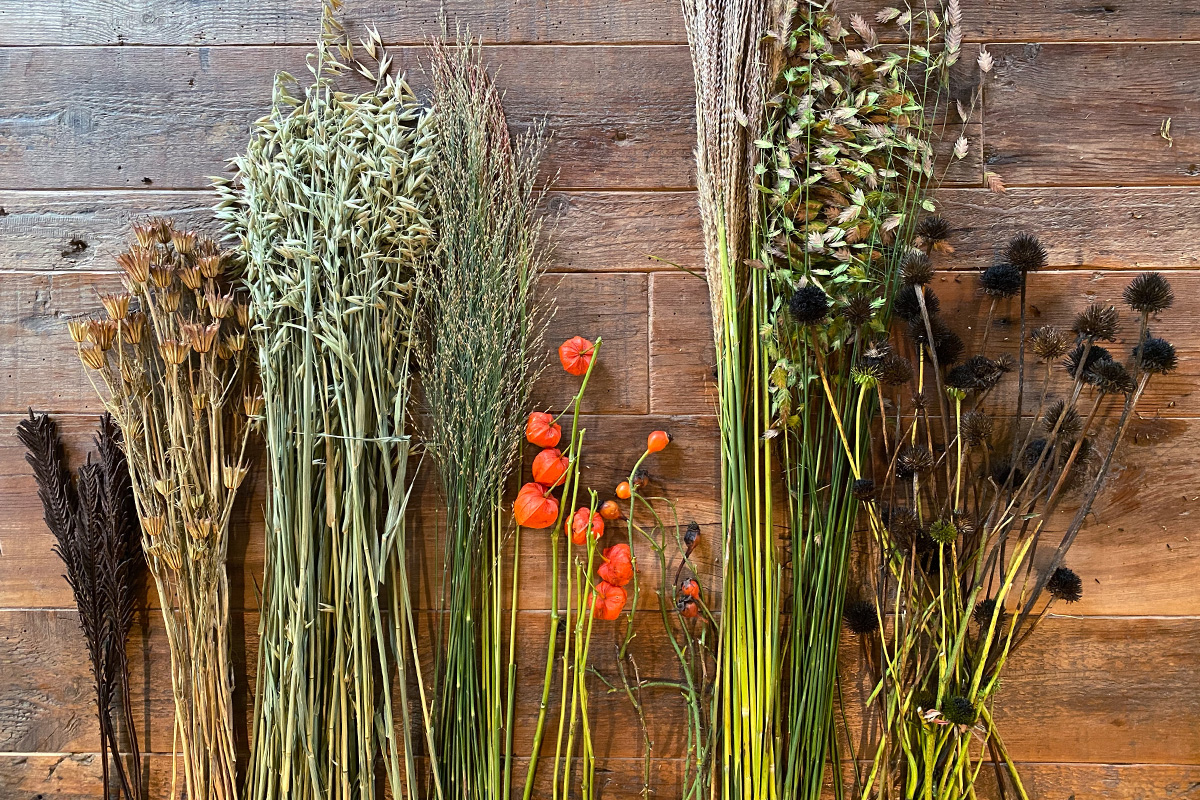
While some seedpods, grasses and thistles dry naturally on the plant and can be harvested before winter sets in, preserving flowers and other materials takes a bit more effort. Luckily, there are many ways to preserve blooms, grasses, pods, and leaves for use in crafts and arrangements. Drying and preserving them properly ensures that they can be used and enjoyed for years to come.
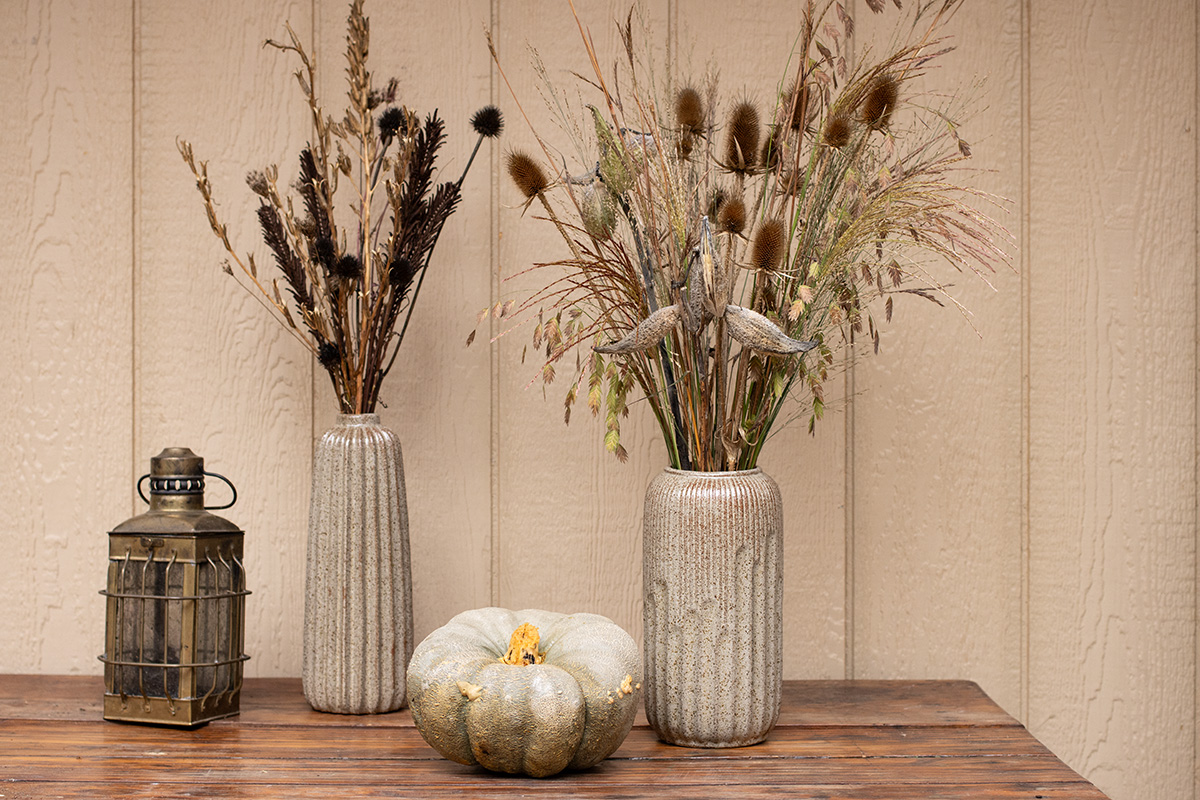
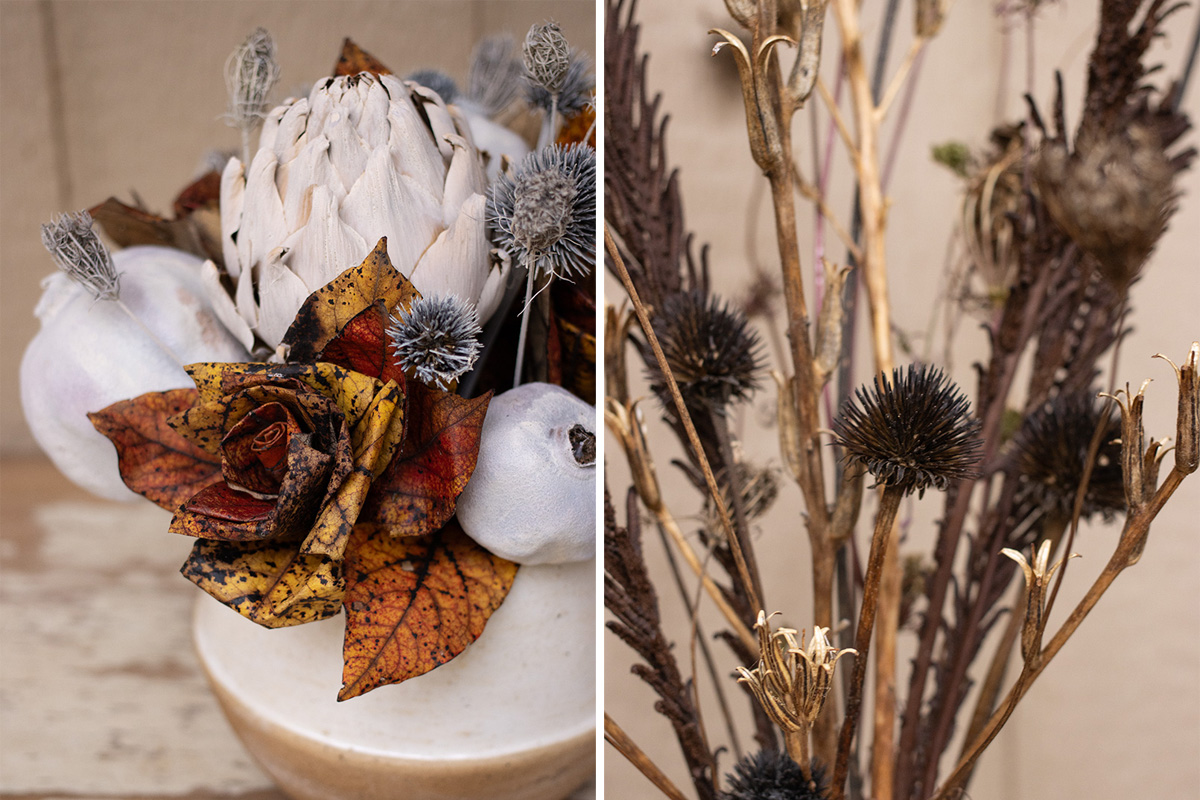
Below, we’ll introduce you to a few fun and easy techniques for preservation. Dried flowers can be used in everything from paperweights to wreaths and seasonal arrangements.
Option 1
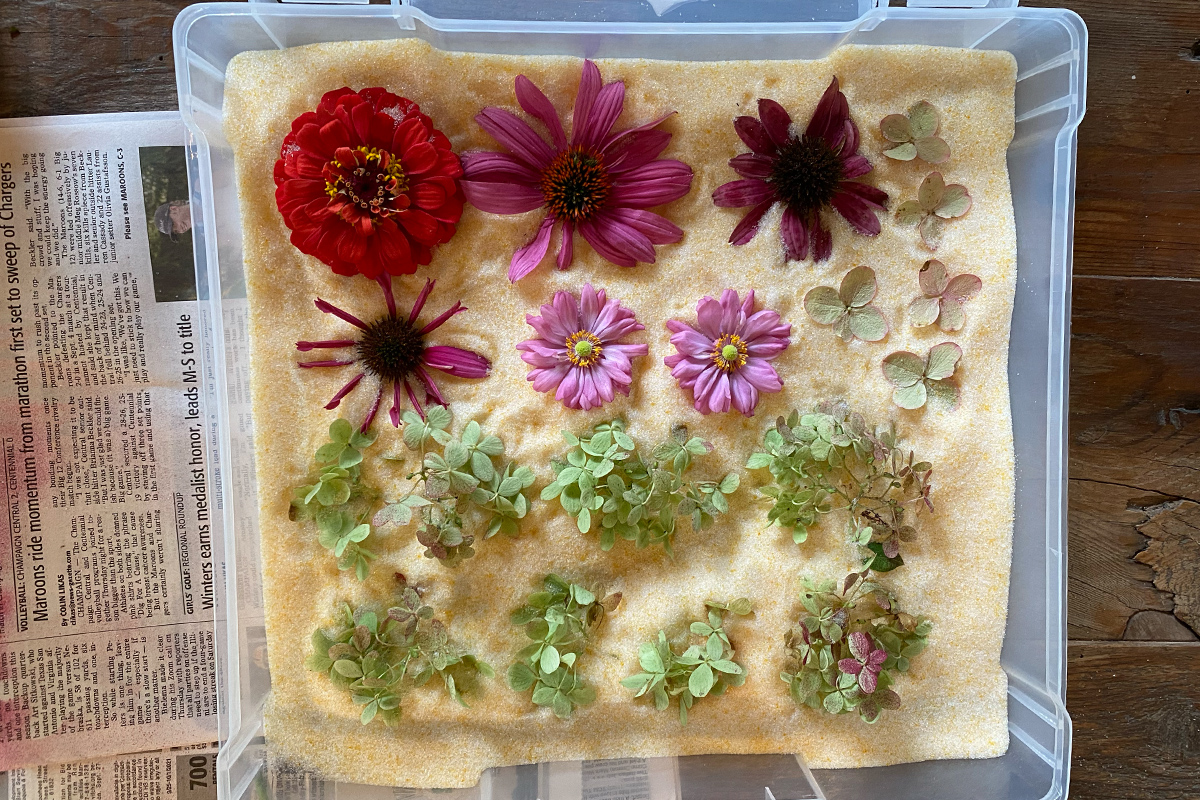
Dehydrating with Silica
Drying flowers with using silica gel crystals is quick and easy! Visit the project DIY page for a step-by-step video, written instructions and a materials list.
Option 2
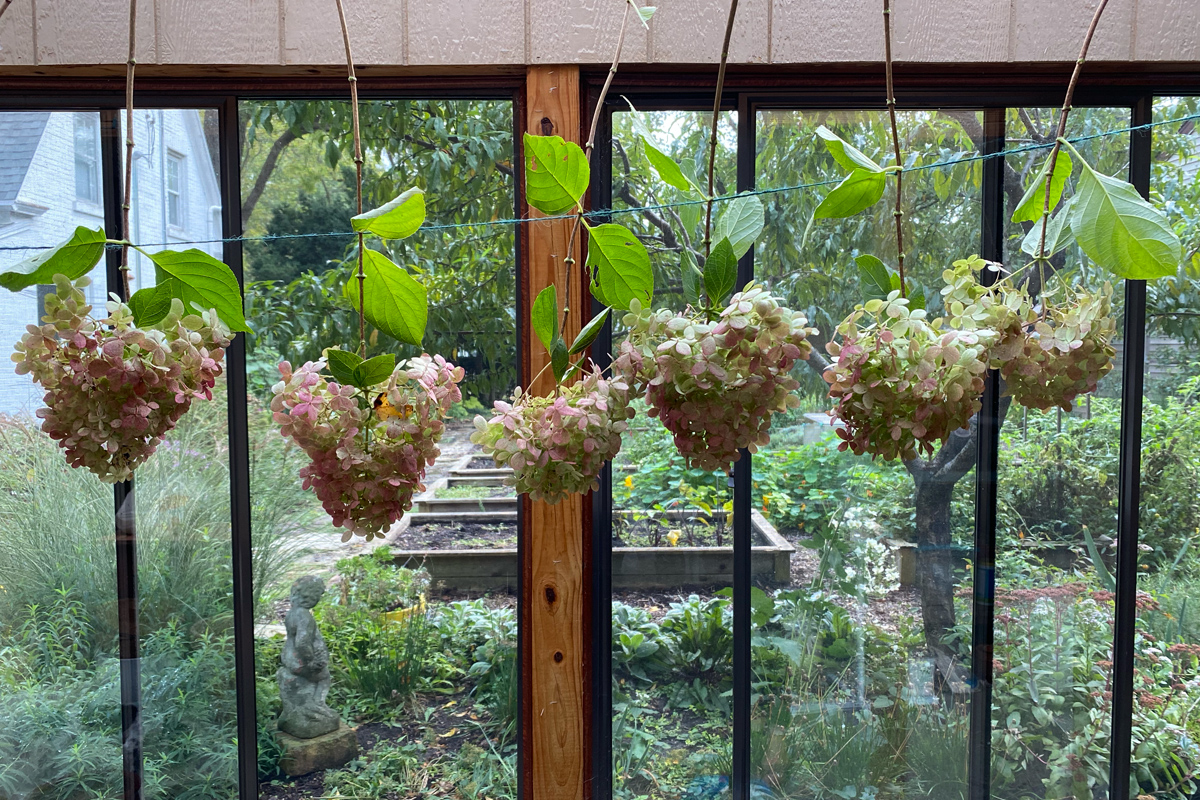
Hang Drying
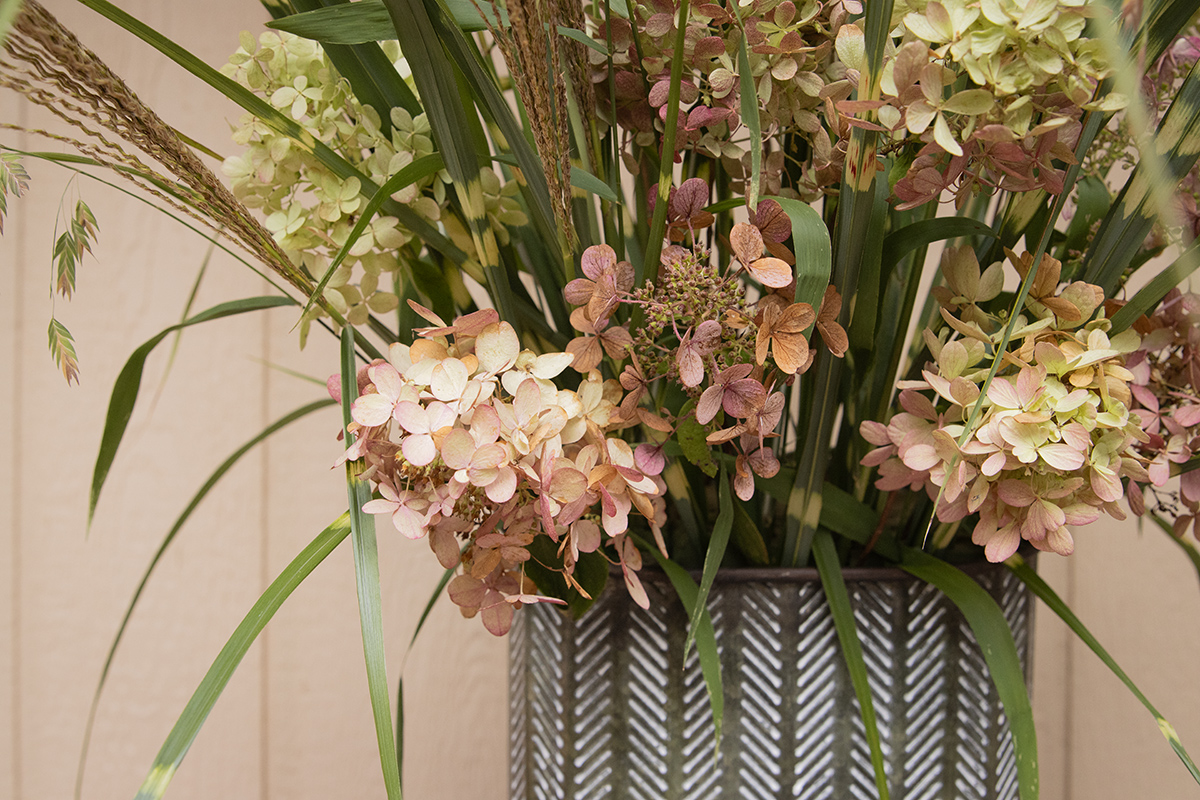
Hanging cut stems with blooms on a drying line is another tried-and-true method of preservation. Take a look at our Preserving Hydrangeas DIY page and video for step-by-step instructions.
Option 3
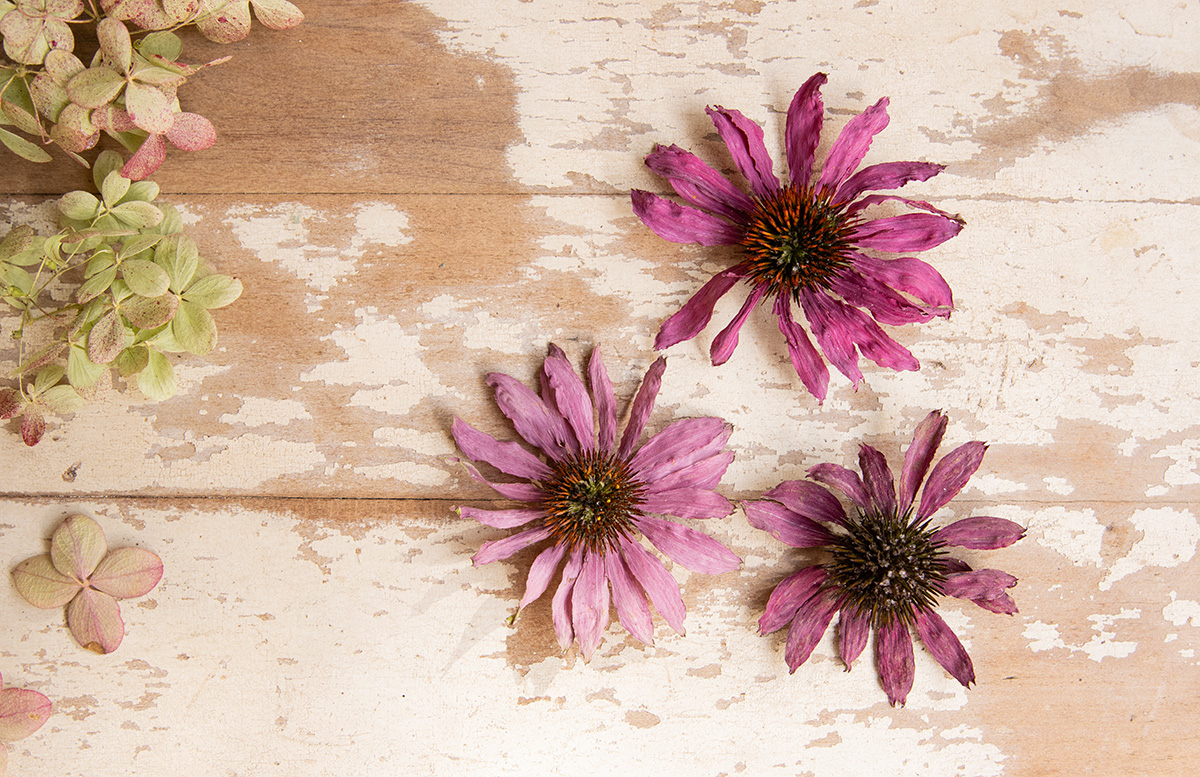
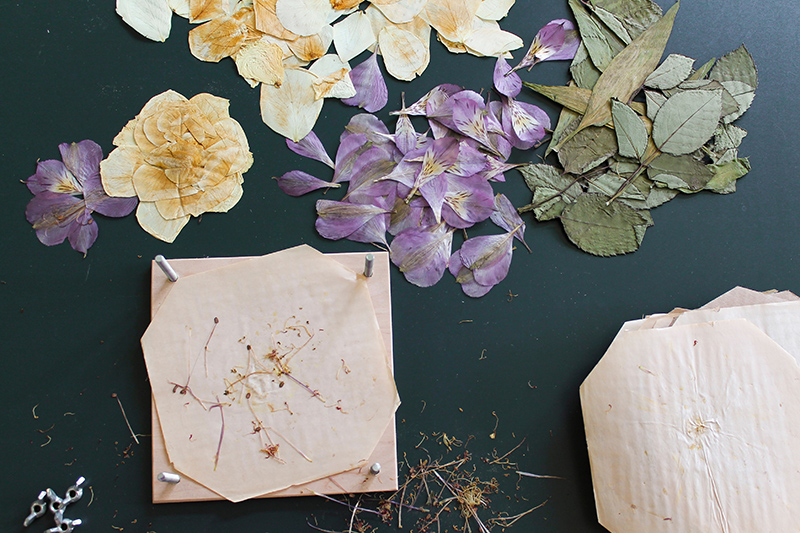
The Flower Press
Preserving Flowers Using a Flower Press
You’ll Need
• Flowers (freshly picked or purchased)
• Flower press
• Uncoated paper (uncoated paper is more absorbent)
Instructions:
1. Gather your materials: Make sure to use flowers that are fresh and dry. Blooms that are wet or too thick will most likely rot in the press.
2. Prepare the press: Open the flower press and place a sheet of paper on the bottom.
3. Arrange the flowers: Carefully lay the flowers on the paper, ensuring they are flat and not overlapping.
4. Add more paper: Place another sheet of paper on top of the flowers to absorb moisture.
5. Close the press: Gently close the press, ensuring the flowers are evenly pressed.
6. Wait patiently: Leave the press undisturbed for 2-4 weeks, depending on the thickness and moisture content of the flowers.
7. Check on your flowers: After a couple of weeks, carefully open the press and check the progress. If the flowers are still too damp, add more paper and close the press again.
8. Remove the flowers: Once the flowers are completely dry, carefully remove them from the press. They should be flattened and preserved. Once dried, you can frame your pressed flowers or use them in various crafts.
Option 4
Wax Paper & Ironing
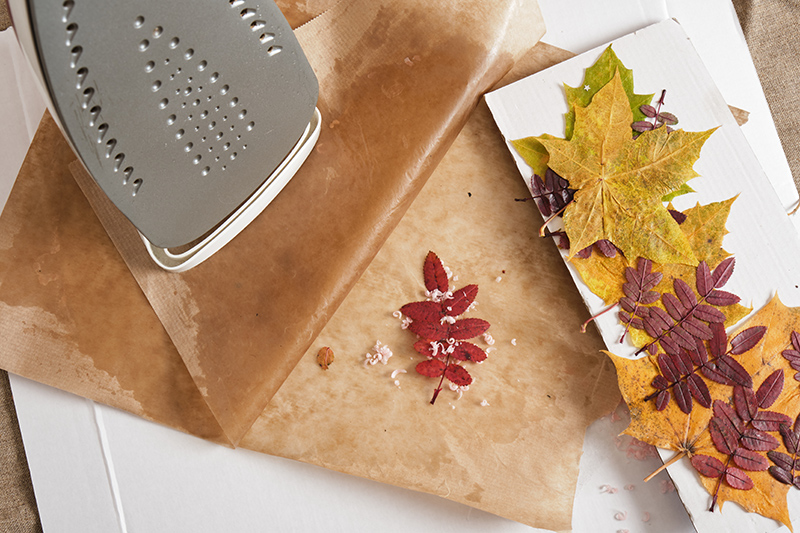
Preserving Leaves & Grasses Using an Iron and Wax Paper
You’ll Need:
• Fresh leaves or grasses that are relatively flat
• Wax paper
• Iron
• Newspaper
• Wax or an old candle (optional)
Instructions:
1. Gather your materials: Ensure your grasses or leaves are fresh and dry.
2. Prepare your workspace: Cover your workspace with newspaper to protect it from any wax that might leak.
3. Place the grasses or leaves: Lay a sheet of wax paper on your workspace. Place the grasses or leaves on top, ensuring they are flat and not overlapping.
4. Add extra wax (Optional): If the material you’re trying to preserve has quite a bit of texture, you may want to add some extra wax by using wax pellets or candle shavings around the material before the next step.
5. Add another layer of wax paper: Cover leaves or grasses with another sheet of wax paper.
6. Iron the sandwich: Using a low heat setting on your iron, gently iron the wax paper sandwich. Move the iron slowly to ensure even heating and melt the wax.
7. Allow to cool: Let the sandwich cool completely before opening it.
8. Remove the flowers or leaves: Carefully peel back the wax paper and remove the preserved leaves or grasses. Alternatively, you can leave the material sealed in the wax paper. It can be hung up as fun fall decor.
USEFUL LINKS
FALL HARVEST SWAG
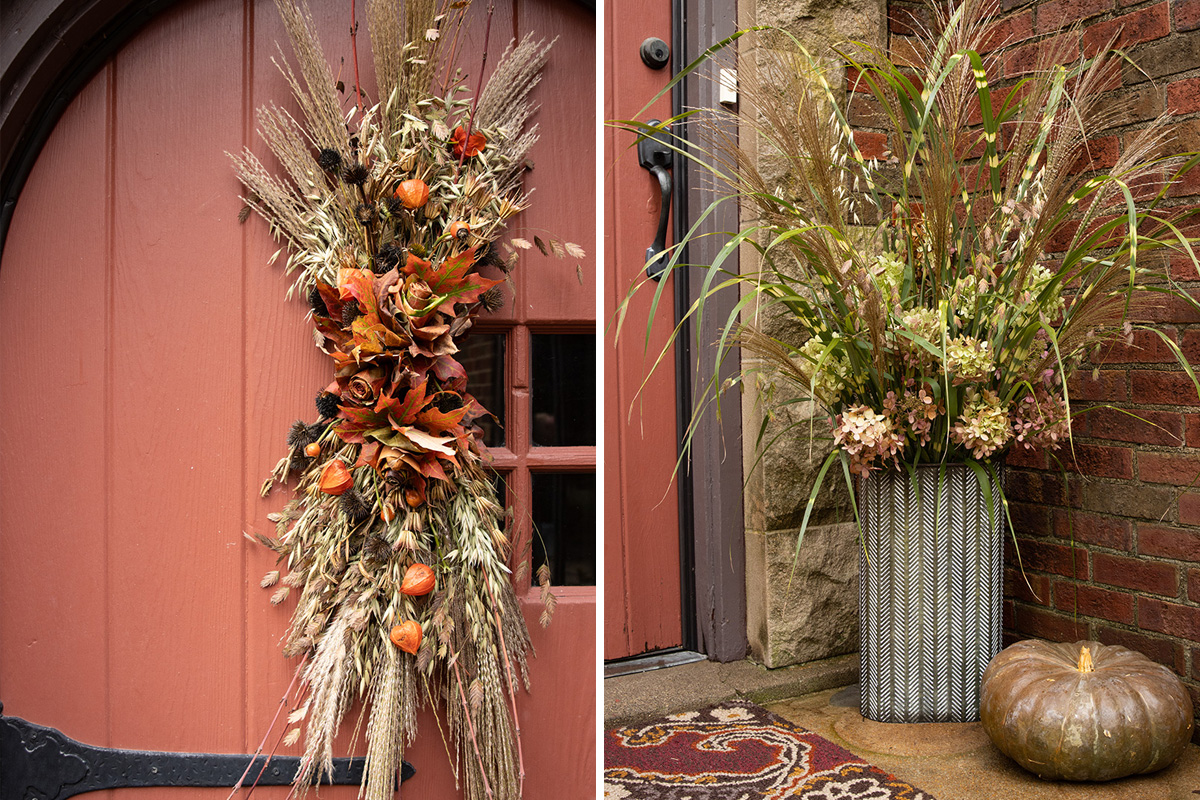
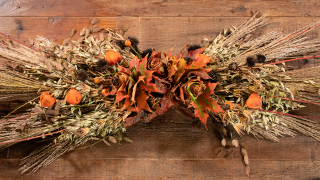
Learn how to make charming swag decor out of foraged fall grasses, nettles, and seed pods. It will look great hung up on a door or above a mantle.
FALL LEAF FLOWERS
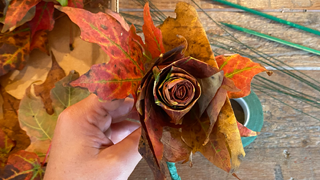
Follow our step-by-step video to make gorgeous flowers out of autumn leaves. Use them in fall swag, indoor arrangements, and more!
HANGING PUMPKIN PLANTER
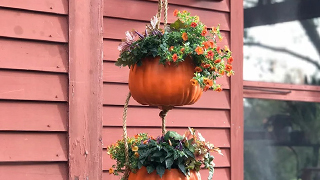
Make a rustic fall hanging pumpkin planter with our step-by-step instructions, video and material list.


