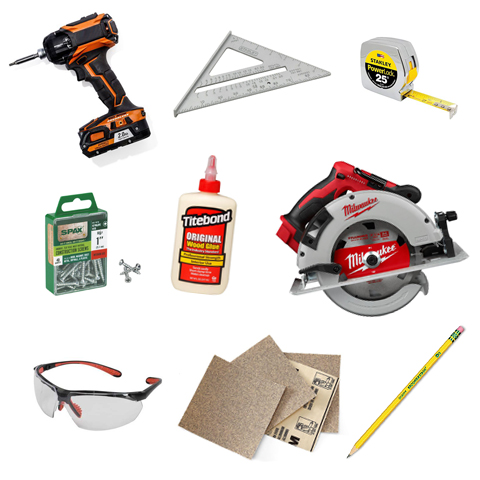
TOOLS
• Work gloves
• Power Drill
• Circular Saw
• Carpenter’s Square
• Measuring tape
• Wood Glue
• Pencil or Marker
• 80 grit Sandpaper
MATERIALS
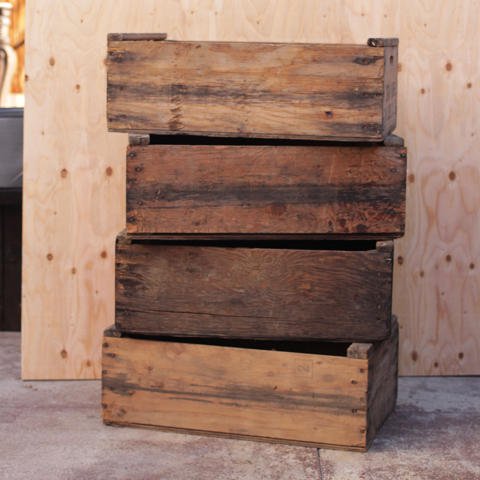
• 4 fruit crates that are the same size
• 3/4 in. thick plywood
• 1” screws
TIPS
• Make sure that the four crates you choose to work with are the same size. This will make your finished table look great even if the crates are vintage and a bit rough around the edges.
• Old crates can be found at antique shops, flea markets, and estate sales.
• Try to pick crates that have a similar finish. If the crates you find all have a different finish, it’s a good idea to sand them down a bit and give them a coat of stain to make them the same color.


1. Find the Dimensions of Your Crate Table
Begin by laying down the plywood on a level surface. Arrange the crate planters on top of the plywood by setting them on their sides and in a windmill pattern so that they sit flush with each other and form a square. The crates may have some wear and slight warping if they are old, but try to make the square as even as you can. Measure the height and width dimensions of the square formed by the crates. This will be the size of your plywood table base.

2. Mark Off the Plywood Base Dimensions
Use the dimensions you got from arranging the crates and mark off the dimensions of the square base on the plywood. Work with the edges of the plywood board and use a carpenter square to draw lines at clean 90° angles.

3. Use A Straight Edge to Draw the Base Lines
Extend the dimension markings to draw the lines of the square base on the plywood. These will need to be visible enough for you to saw along them.

4. Cut Out the Square Plywood Base
Place the plywood on an even, elevated surface. A pair of sawhorses or a set of wood blocks works well. If you don’t have anyone assisting you, you’ll want to clamp the plywood down so it can’t move around. Using a circular saw, cut out the square base you marked off. Be sure to wear safety glasses when cutting.

5. Sand the Square Base Edges
Give the plywood square edges a good once over with 80 grit sandpaper to eliminate any splinters.
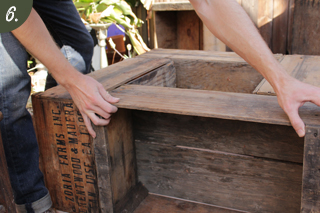
6. Position the crates in their windmill arrangement
Prepare your four crates to attach them together in the next step. Make sure that they are sitting on a level surface, and their tops, bottoms, and edges are as flush as they can be. This is a good time to decide which sides will be the top and the bottom of the crate table. Try and choose the best-looking sides of the crates for the table surface, and flip them accordingly to hide worn or damaged surfaces on the bottom.

7. Attach the crates together
Using a power drill and 1″ screws, attach the crates to one another through the sides. We recommend using three to four screws for each connection to ensure that the whole assembly is solidly joined before attaching the plywood base.
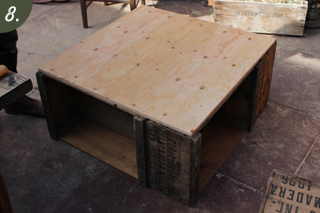
8. Make sure your base fits properly
Position the plywood square on the side that you decided will be the bottom of the crate table. Make sure you’re satisfied with the fit, then put the plywood aside so that you can apply wood glue to the crates.
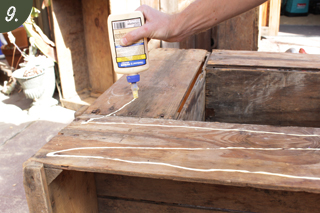
9. Apply Wood Glue
Make sure you have the crate assembly positioned with the bottom side facing up. Apply wood glue onto the crate sides. Don’t overdo it, as this glue will just be reinforcement for the screws that will attach the plywood base.
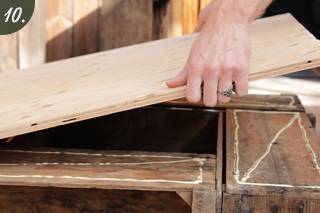
10. Place the Plywood Base
Put the plywood square down onto the wood glue covered area. Make sure the edges of the plywood and crates are flush before the glue sets.

11. Screw Down The Plywood Base
Using 1″ screws and the power drill, screw the plywood base down into the bottom of the crate assembly. Put in screws along the perimeter and eight inches to one foot inside the perimeter to ensure each crate is securely attached to the base.

12. Assembled Crate Table
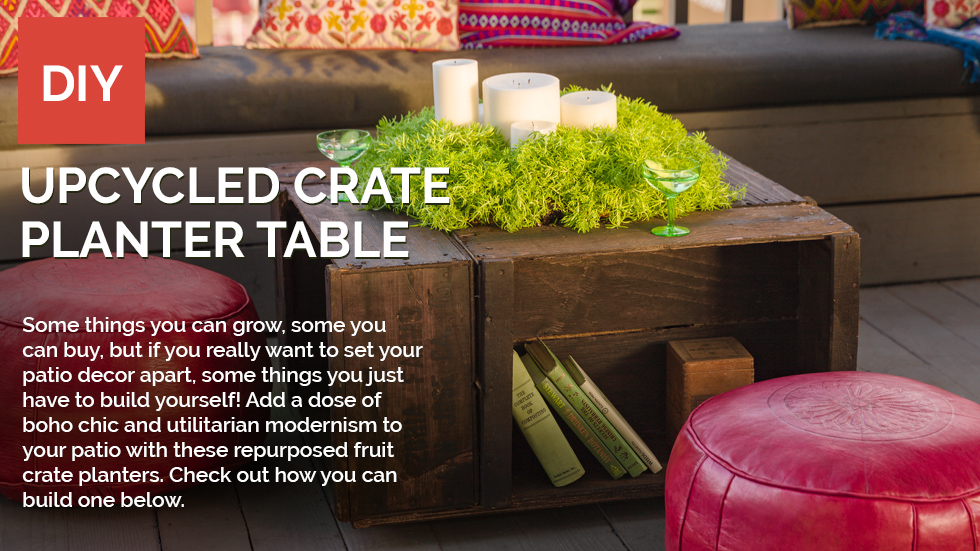
The finished crate table is now ready to be lined and planted in the center. There are a few options for lining the inside. Read on below to see how we lined ours.

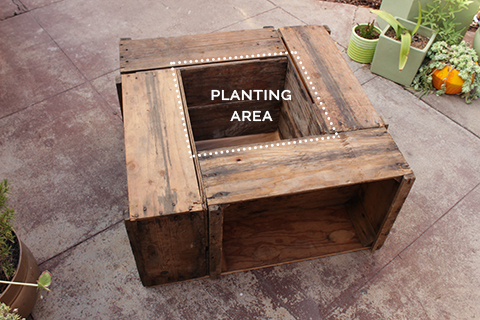
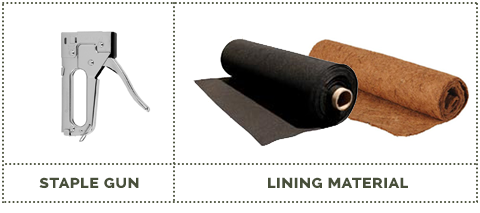
Coconut Fiber and Landscaping Cloth
Lining your planter with coconut fiber or landscaping cloth will keep soil from falling through the cracks and slats of your crates while providing excellent drainage. Either material will make a great liner for your crate table, and is readily available at most hardware stores. Using a staple gun is an easy way to secure the liner to the crate table before adding soil and plants.

