Guides
Cut Flowers
10 Tips for Long-Lasting Cut Flowers

With Danielle Keeton

Danielle Keeton has a wealth of experience and wisdom to share when it comes to designing bouquets. Her floral arrangements are stunning and inspiring! But creating these works of art isn’t just about picking pretty flowers. Check out Danielle’s tips for long-lasting cut flowers below. These tips are sure to take the beauty and longevity of your cut flower arrangements to another level!

Tip 1

Cut in the early morning or late evening when the flowers are most hydrated

Flowers cut at dawn or dusk don’t have to contend with the harsh heat stress of the day and will always last longer in the vase. Bring your harvest bucket along so the flowers are never without water.

Tip 2

Always use clean tools and buckets

Bacteria significantly decreases a flowers vase life. Always harvest flowers with clean snips and put stems into well-scrubbed buckets with fresh clean water. Ideally, you should be able to drink from your harvest bucket and cut a steak with your snips. If you’re not willing to eat and drink from these tools then they’re not clean enough. Take care to keep your tools sharp as crushing or tearing the stems will restrict water uptake.

Tip 3

Remove leaves that fall below the water line

As leaves break down, they introduce bacteria into the water which decreases the vase life of cut flowers. It’s easiest to remove lower leaves in the garden and place the excess foliage in the compost pile.

Tip 4

Condition the flowers

Conditioning is the process where cut flowers are left to rest in their original water for many hours in order to rehydrate and recuperate after being cut. Giving them a long soak in a deep bucket of clean water prior to arranging will work wonders for the vase life of your blooms. Generally, 4 hours of conditioning in a cool location is recommended, but overnight is ideal.

Tip 5

Recut the stem at an angle

A stem cut straight across may sit flat on the vases base. Much like a straw at the base of cup, a stem sitting flush at the bottom of a vase can get clogged. Avoid this by cutting the stem at an angle ensuring a clear path for water to travel up to the bloom head.

Tip 6

Add flower food

Cut flowers need sugar to eat, acidity to aid in water absorption, and a biocide to fend off bacteria. Adding flower food to the water gives them these elements and will extend their vase life. It also helps the flowers maintain their vibrant color for longer.

Tip 7

Display cut flowers in a cool spot away from bright light

Heat and sun will cause cut flowers to fade faster. Florists and farmers keep their blooms in coolers to ensure the stems longevity. Enjoy your cut flowers in a cool location away from the sun’s rays for the longest vase life.

Tip 8

Change the water as needed to keep it clean

The type of flowers you pick will determine how quickly the water becomes murky. Flowers, such as yarrow, chrysanthemums and zinnias are known as “dirty” flowers. This means they contaminate vase water more quickly than others.

Strive to always have fresh, clear, clean water in the vase. For a simple bouquet of flowers with no mechanics, pour out all the water, recut the stems, wash the vase, and place the bouquet back into the clean vessel with fresh water. For more elaborate arrangements created in a floral frog or chicken wire, top up the vessel with fresh water as needed. If possible, flush the vase every few days. To do this, take the arrangement to the sink and allow running water to push out the old water while at the same time adding new clean water into the vase.

Tip 9

Water pH makes a difference

If you’re doing everything right and your flowers are still quickly melting down the water pH may be the issue. Water quality has a significant impact on vase life and two of the most important characteristics of water are pH and electrical conductivity, a measure of water’s salinity. Cut flowers are usually placed in tap water, which can vary greatly in pH and EC. Low pH is best for cut flowers and will result in a longer vase life.


Tip 10

Know the proper harvest stage for the flowers and foliage you’re cutting

Every flower has a different “stage of harvest.” This refers to the ideal time to pick a flower for the longest vase life. While there isn’t a one size fits all rule, many flowers can be grouped together to make remembering the ideal harvest stage easier.

Spike flowers
Spike flowers such as snapdragons, foxgloves, gladiolus, and delphiniums can be picked a third open when only a few florets are open at the base. These flowers will continue to open in the vase.

Sunflowers
Sunflowers can be picked when the first petal lifts away from the center of the bloom. They will open in the vase and the petals will remain pristine inside.

Other Flowers
Other flowers such as zinnias and dahlias won’t open much more after harvest and should be picked fully open. Once a flower is pollinated, the vase life decreases.

Peonies
Peonies should be picked in “marshmallow stage” when the blooms are squishy like a large marshmallow. They will open in 24 – 48 hours.

Lilies and Tulips
Lilies and tulips should be picked in colored bud stage when the flower color is evident but before the flower has cracked open.

Hydrangeas
Hydrangeas should be picked when fully mature. Immature blooms will always wilt in the vase and nothing will revive them. Place mature, fully colored hydrangeas immediately into room temperature water with flower food and allow them to condition for a few hours. After conditioning, recut the stems and dip them into alum powder. Alum is a pickling spice that increases the uptake of water. Alternatively, dip the stems into a fast hydration product such as Quick Dip.

Shrub Foliage
In general, shrub foliage should be cut when fully mature. Soft new growth will often flop in the vase, but leathery mature foliage from the same plant will have a long vase life. For example, forsythia foliage cut early in the season may not even stand upright for 24 hours. However, a stem of forsythia cut in mid-summer will easily last two weeks in the vase. Always slice vertically up woody stems to increase the surface area for water uptake.

• Good Things to Know •

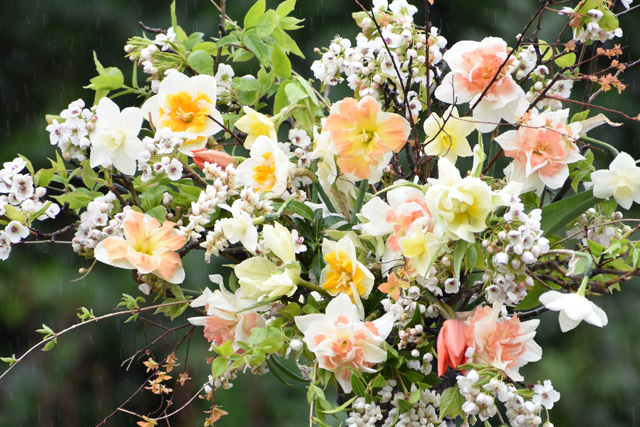
Make daffodils play well with others
Daffodils should be pulled from the ground instead of cut. Since the sap that daffodils secrete is toxic to some other flowers they should be conditioned separately before being used in mixed bouquets. Place freshly harvested daffodils into cool water and let them sit for three hours. During this time, the sap will run out from the stem. After conditioning, the daffodils can be safely paired with other blooms.

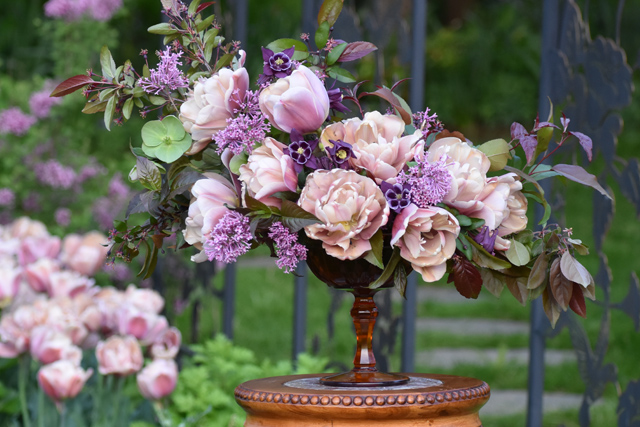
Save peonies for later
You can dry store peonies in your refrigerator for a month and rehydrate them later. For dry storage, harvest peonies in marshmallow stage and wrap bunches of ten in paper. Avoid botrytis by ensuring that absolutely no moisture is present on the stems and buds before storage. Place wrapped bunches in a refrigerator or cooler set at 34/35° F for up to one month. To rehydrate dry-stored peonies, remove them from cold storage, keep the paper on, and cut one inch from the bottom of each stem. Place the wrapped stems into a bucket of clean, room temperature water and allow the stems to rehydrate for a few hours. The paper wrapping should stay in place until the stems are stiff are fully rehydrated. This will ensure the stems stay upright during rehydration.

Revive wilted hydrangeas
Sometimes cut hydrangeas will wilt in the vase. Luckily, there are two easy ways to revive them. The first method is the boiling water technique. Recut the wilted hydrangea stem and place it into a vase with an inch of boiling water. Then let the water cool to room temperature. By the time the water has cooled, the hydrangea will be fully rehydrated and firm. When using this method, don’t pack the vase with too many wilted hydrangeas because the heads may be damaged if the steam isn’t able to escape.

Another way to revive wilted hydrangeas is to place the entire bloom into a large basin of cool water for 30 minutes. After this time has passed, take the bloom out of the water bath, place it in a vase of water, and allow the head to air dry. Within a few hours, the hydrangea will have perked back up and be ready for arranging!