Building a Portable Urban Garden
Looking to activate that unused in-between space outside of your apartment or office building? You can use upcycled horse tank containers to create a modular patio and turn that normally overlooked area into an inviting community space! Below we’ll dive into the process or repurposing these cool industrial tanks. These heavy-duty, low-maintenance containers will keep your plants happy through the season and will give your co-workers, friends, and neighbors a calming, green space to relax and unwind, even if you’re in the middle of the city!
• Get the Look •

GET SOME TANKS
Start by visiting a farm supply store or look online to find relatively inexpensive galvanized horse water tanks. We used 2’x2’x3’ and 2’x2’x6’ tanks.
2’ x 2’ x 6’ Stock Tank – 170 Gallons
2’ x 2’ x 4’ Stock Tank – 100 Gallons
MAKE THEM MOBILE
Once you have your tanks, consider putting them on wheels. You could either mount moving dollies or caster wheels to your planters for easy movement.
FILL THEM UP
The next step is to fill them up with good potting soil. Tank gardens can hold a lot of soil which will keep your plants happy and healthy throughout the season.
Note
Consider conserving soil. If you’ve done the math, and the amount of soil you’ll need to fill your tanks feels overwhelming, consider building a false bottom to your planters. Find more information on that below.
THE FUN PART
Dream big about what you want to plant and then gather the plants and fertilizer you need to make this garden come together. Read on to find the list of what we planted below.
Note
If you plan to overwinter shrubs or perennials in your planters, choose varieties that are two zones hardier than yours. For more information on overwintering plants in containers, click here to visit our Overwintering Guide.
• Vibe It Out •
TO PAINT OR NOT TO PAINT
If you like an industrial look, use the galvanized containers as they are, or consider painting them a color that fits your color palette.
Check out this color palette generator for ideas!
WARM IT UP WITH A RUG
If you’re creating a patio space in an open area, give definition to your outdoor living space by starting with an outdoor rug.
UNIQUE FINDS
To create a truly unique and inviting space, consider searching local antique and resale shops for durable furniture that will only look more charming with a bit of time outdoors.


CREATING A FALSE BOTTOM FOR YOUR CONTAINERS
Creating a false bottom in the tank will cut down on the amount of potting soil you’ll need for the project and can improve drainage of your container.
Unless you’re planning to plant edible plants, pressure treated wood will work best for this project. This kind of wood won’t rot. If you are planning to plant herbs and vegetables however, avoid pressure treated wood as it is often chemically treated.
You’ll need a sheet of 3/4” plywood and 2” x 2” or 4” x 4” posts for your support legs.
The height of the support legs will determine how much soil you’ll need in each tank. Use wood screws to attach the legs to the cut sheet of plywood, spaced evenly for best support.
Lastly you’ll need to use a paddle bit to drill drainage holes in the plywood for good drainage throughout the planter.
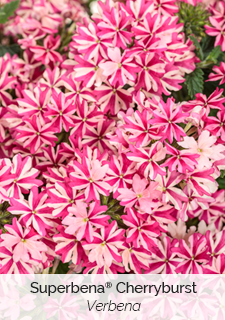
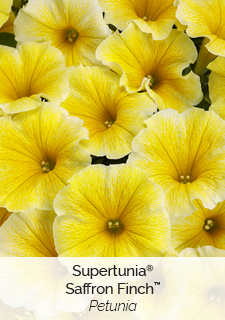
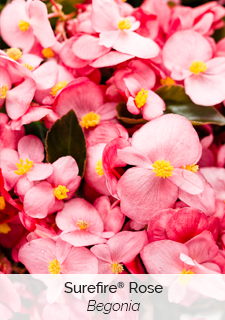
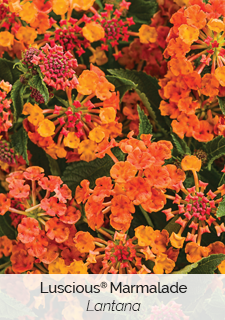
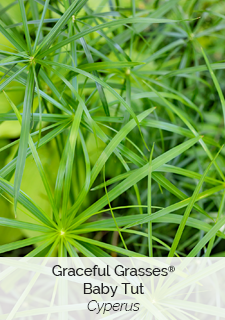
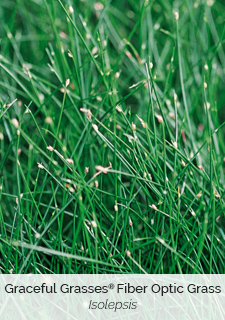
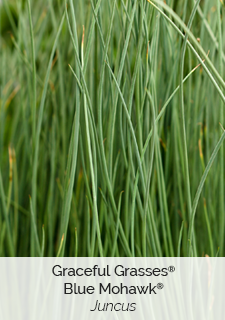
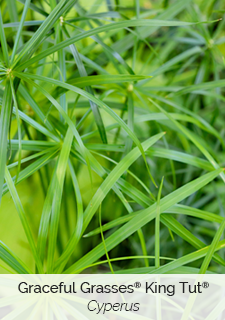
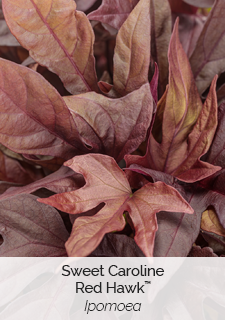
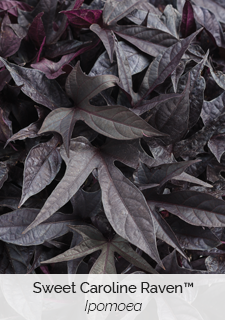
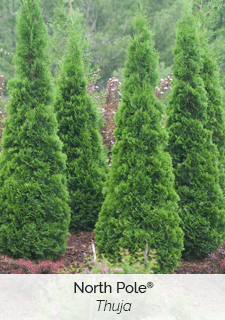
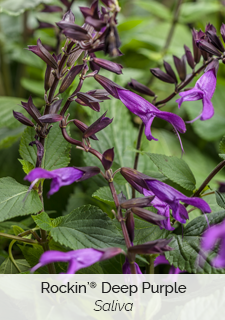
WHAT WE PLANTED