Small Spaces
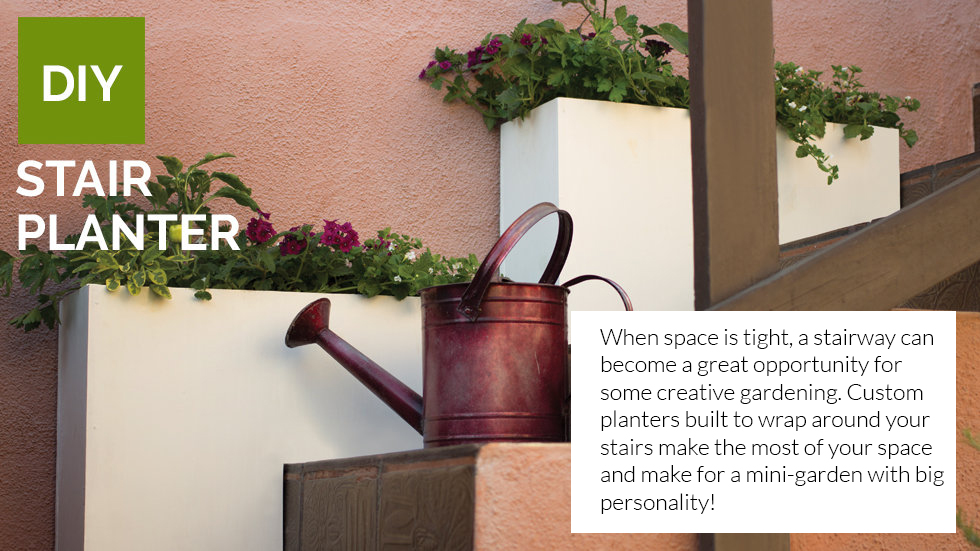
What We Did
We got 1×6″ pine board for the sides and feet, and plywood for the bottom of the planter. We built four triangular segments – two larger ones for the first tier, and two smaller ones for the top tier. These segments were connected using metal brackets and wood glue.
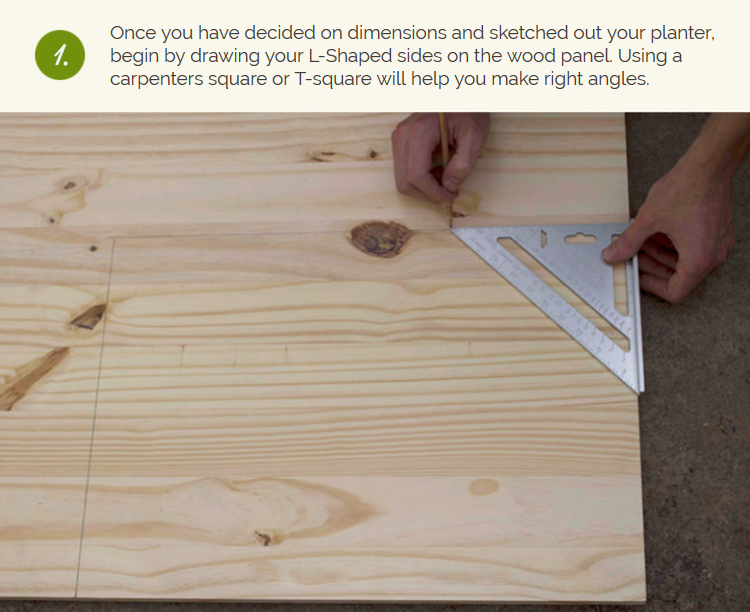
Each segment is a right triangle (for a 90° corner) with two sides of equal length, and a longer diagonal.
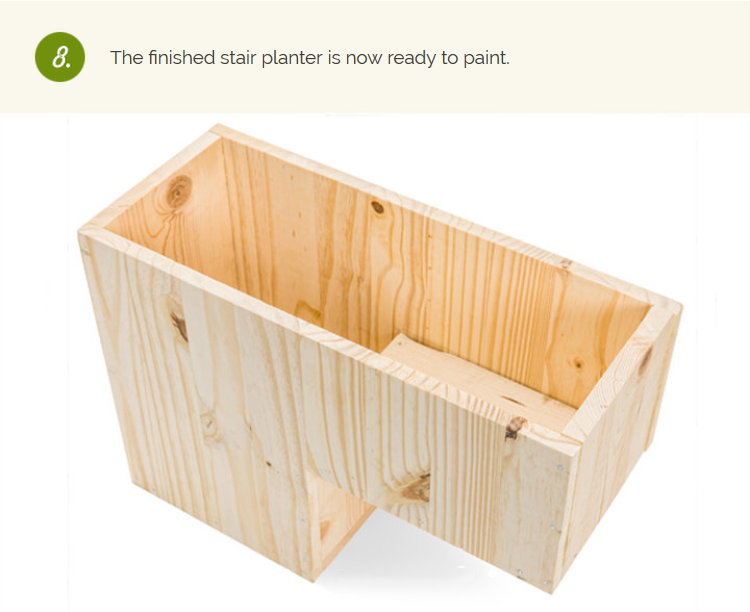
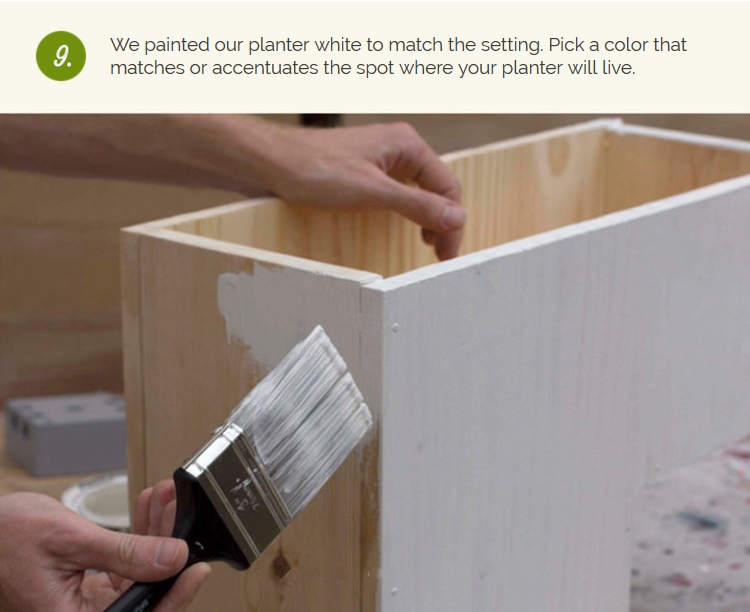
After assembly, we painted the planter white and planted it with a mix of edibles and ornamentals.
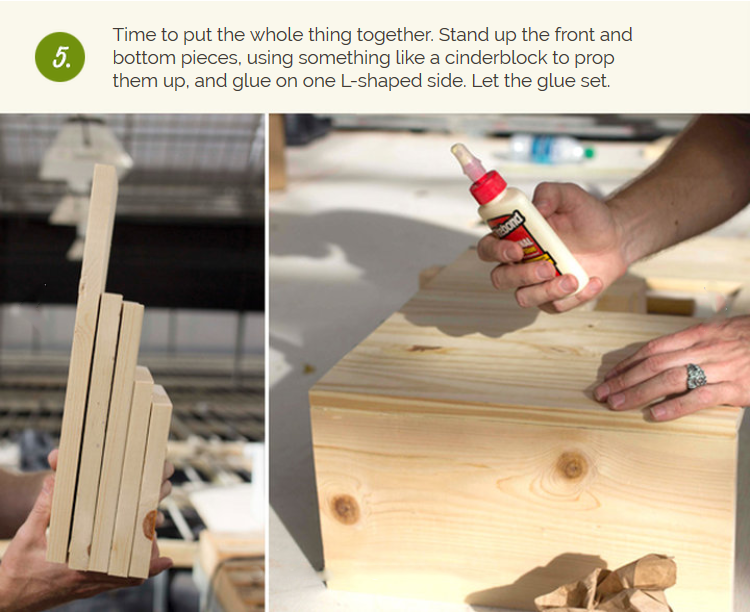
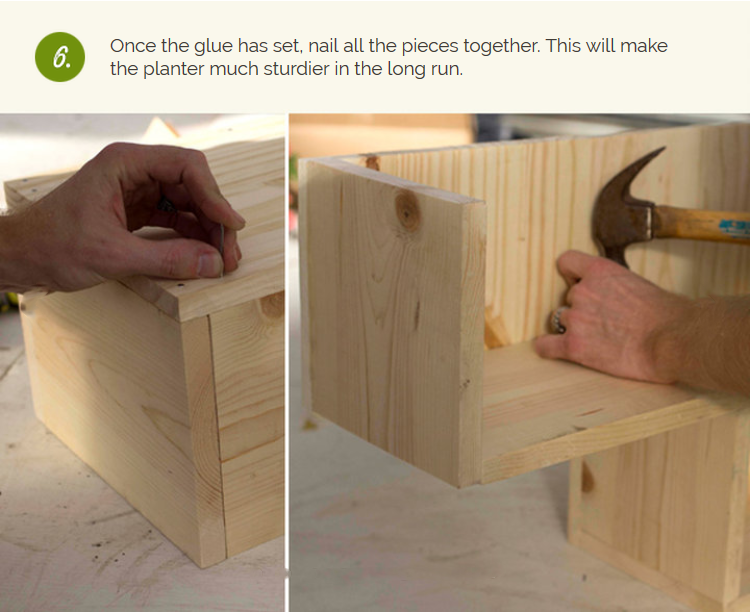
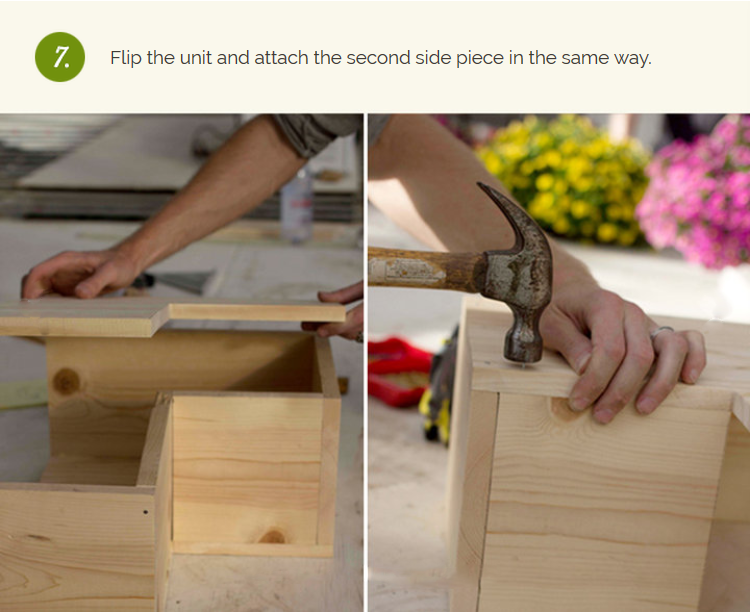
For a detailed step-by-step guide see the assembly slideshow below.


Tools
- Miter Saw
- Circular Saw
- Power Drill
- Hammer
- Wood Screws
- Measuring Tape
- Carpenters Square
- Safety Glasses
- Work Gloves
- Paint Brush
Materials
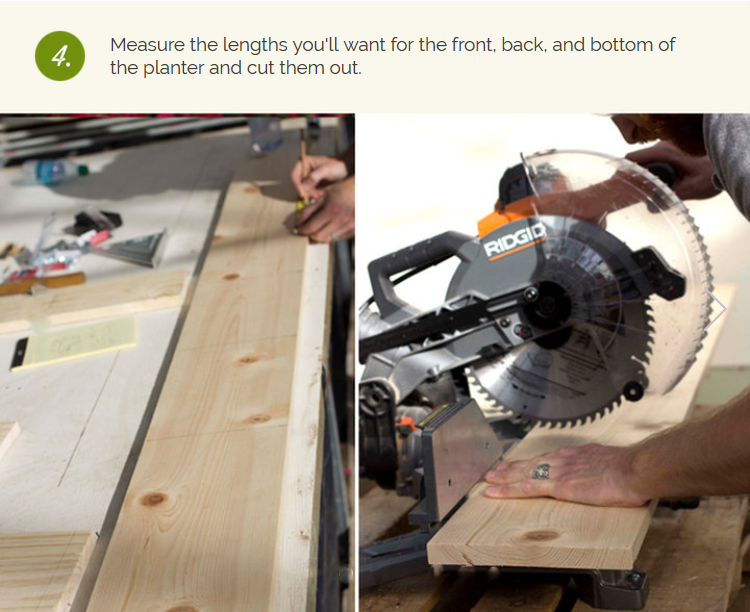
- 1×6 pine board. Make a sketch with side dimensions to find out how much you’ll need.
- Plywood. A triangle cut from 1″ thick plywood will serve as the bottom of your planter.
- 8-10 metal braces (tie plates). We got 1 13/16″x5″ tie plates.
- Wood screws. 2″ long, and 1″ screws. You’ll want to make sure the 1″ screws fit through the holes in your tie plates.
- Nails
- Sandpaper. 100 grade.
- Wood Glue
- Outdoor Paint. We painted our planter white, but you can choose any color you like to complement your plants and outdoor setup.


Planting the Corner Planter

Plants We Used: Superbena® Burgundy Verbena, Snowstorm® Giant Snowflake® Sutera, Bell Pepper, Sage, Eggplant, Parsley