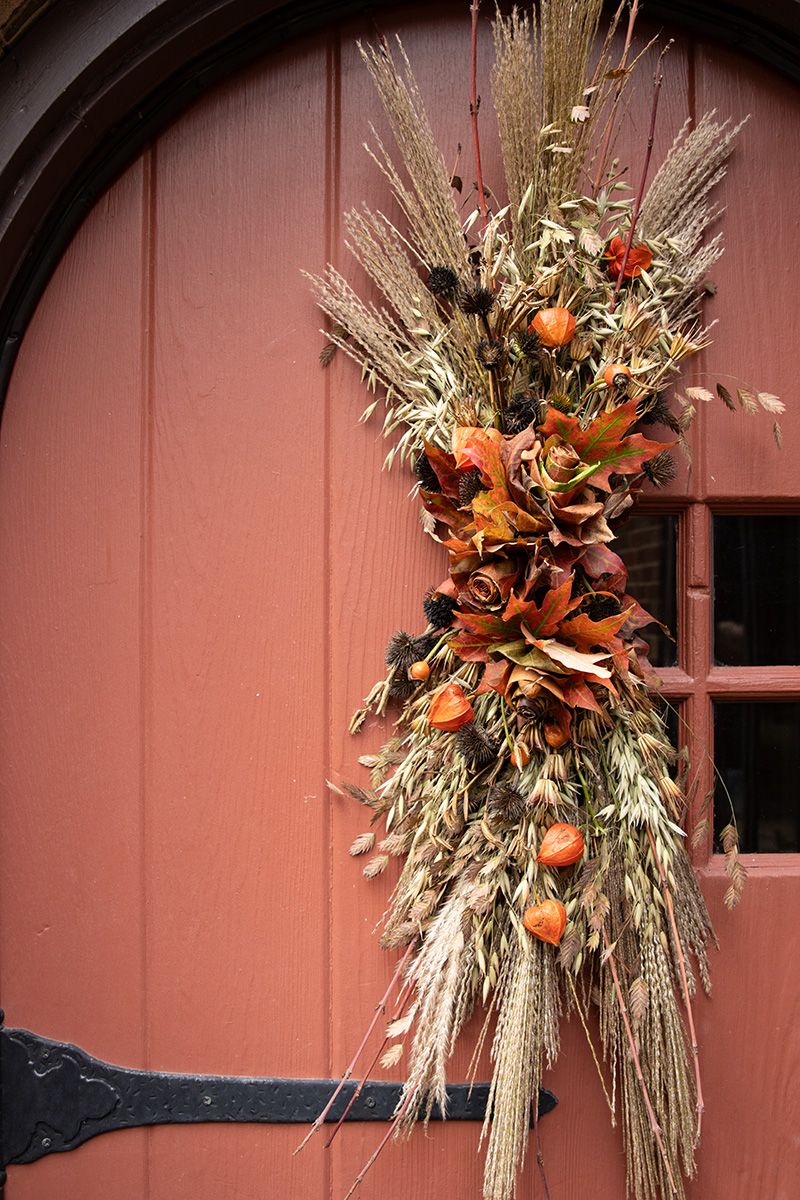
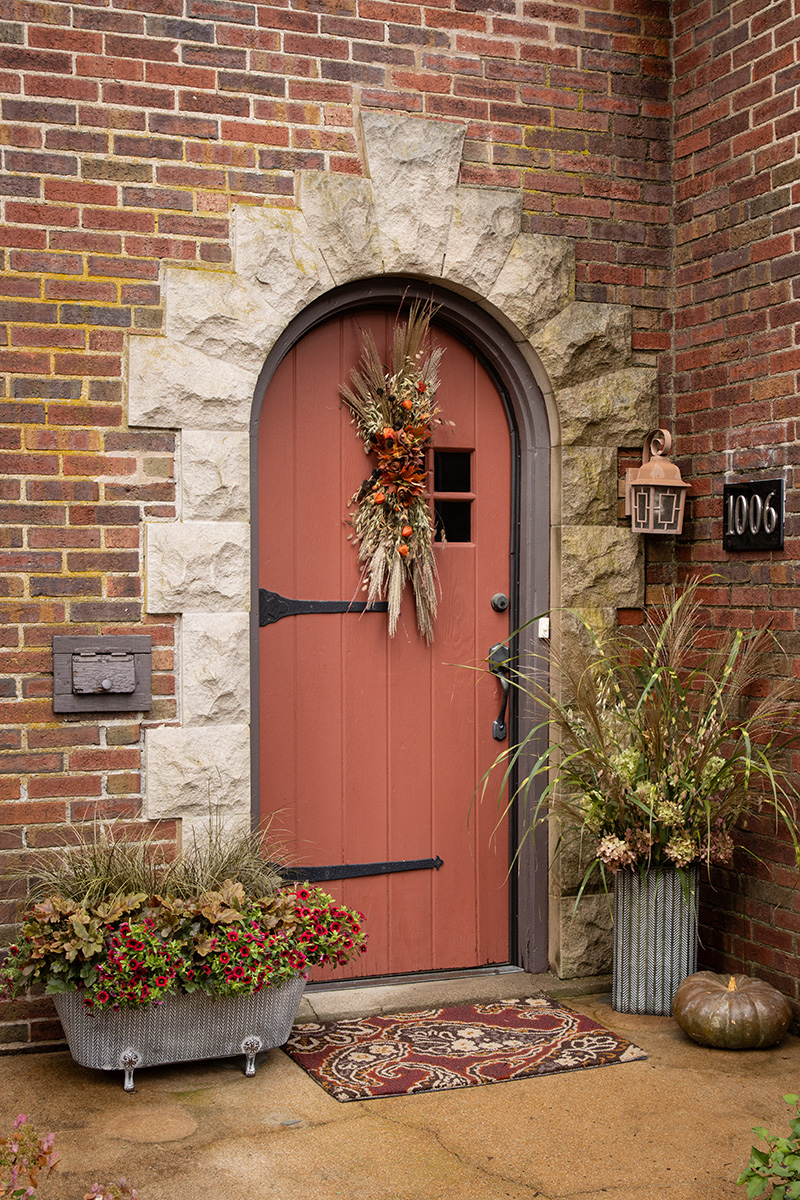
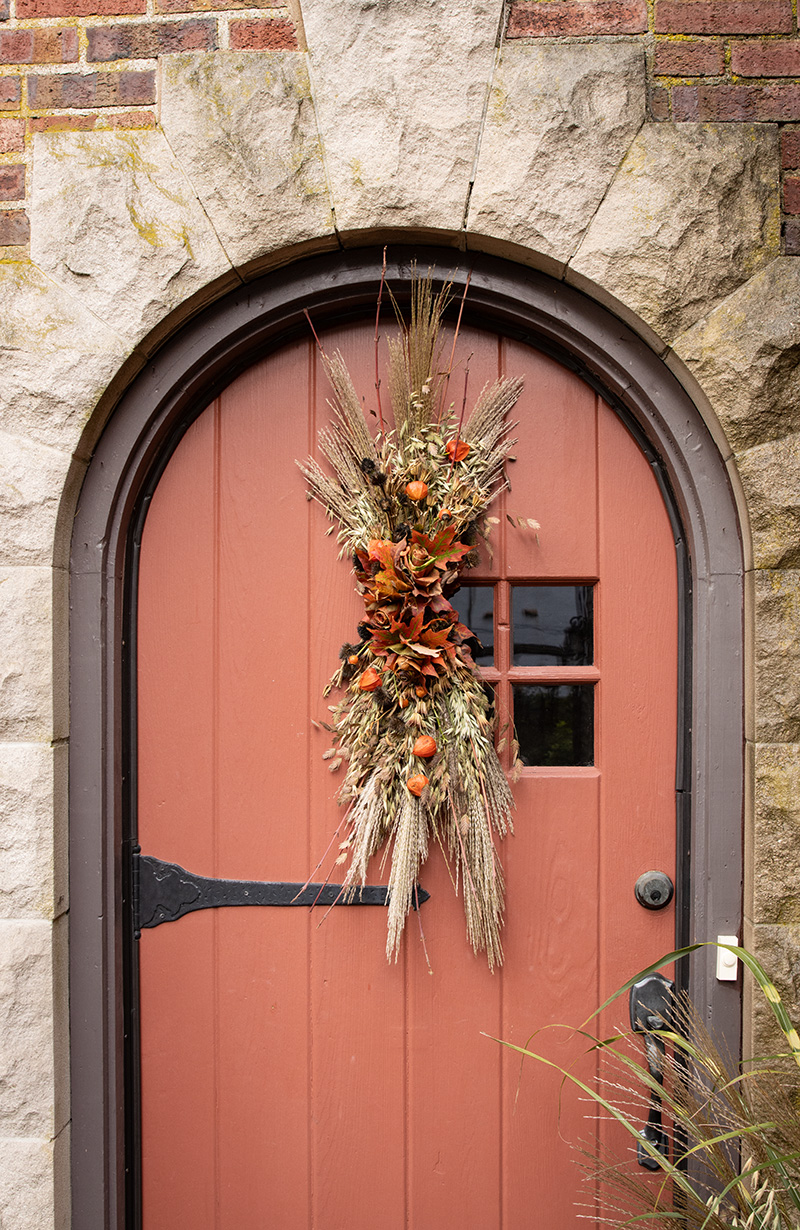
 Fall Harvest Swag
You’ll Need
• Scissors or clippers
• Floral wire
• Swag base
• Hot glue gun
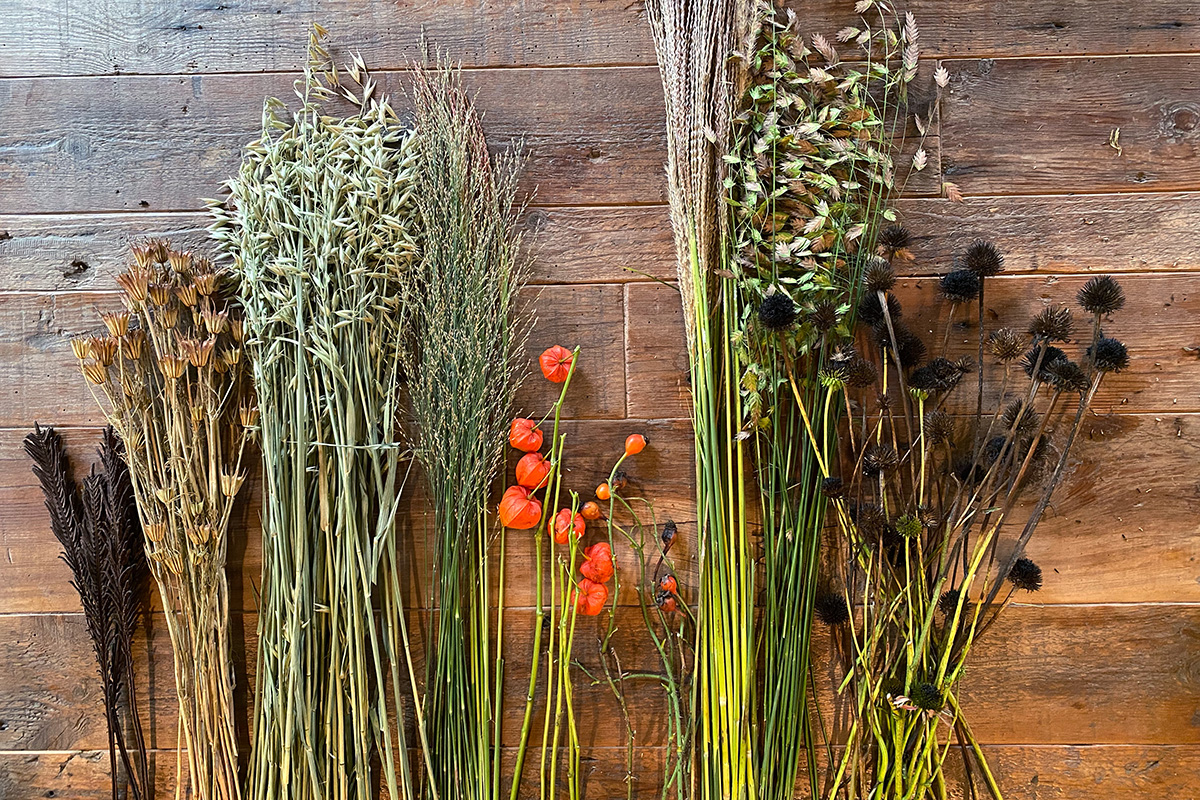
• Gathered grasses, flowers and seed pods
• Ribbon (optional)
• Floral spray paint (optional)
Directions
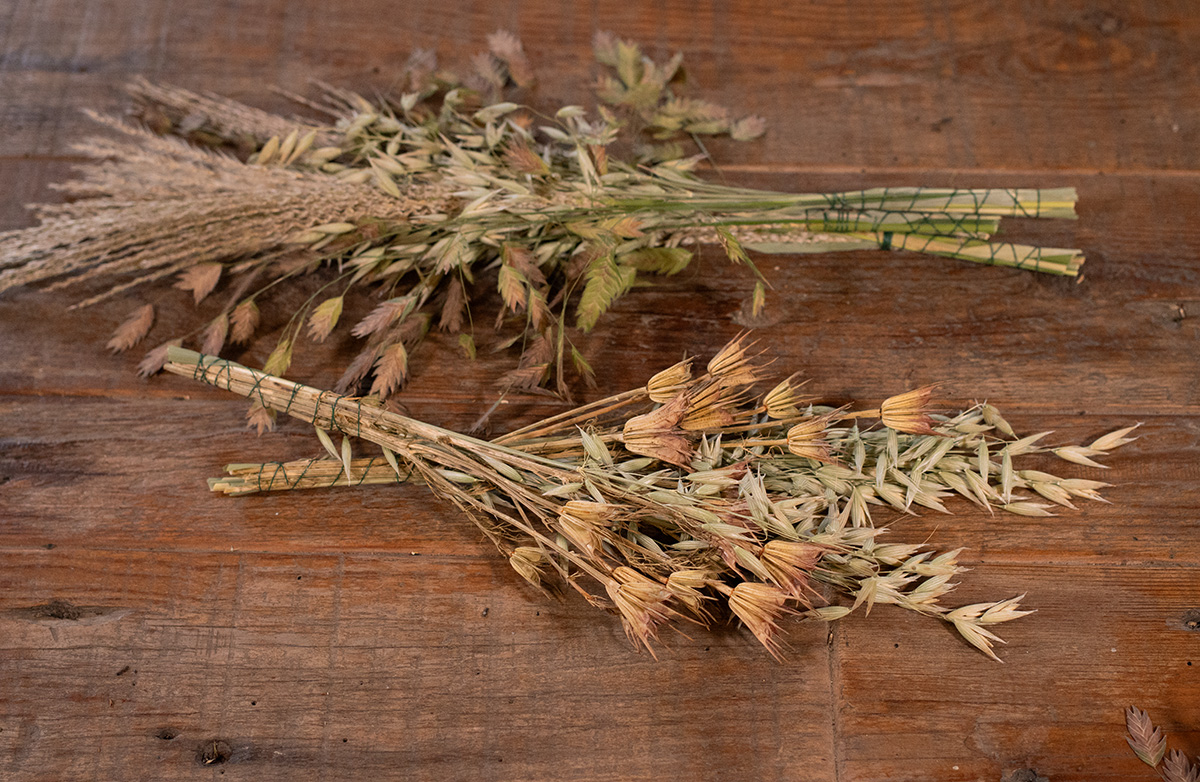
1. Gather materials for your swag. (We used grasses, thistles, and seed pods)
2. Trim and tie gathered plants into bundles.
3. Grab your swag base and start adding elements. We supplemented our swag base with dried sticks from Arctic Fire® Red Cornus to give ourselves more surface area to work with. Feel free to play around with the base to get the shape you desire!
4. Use a hot glue gun to secure plant bundles to the swag base.
5. Wrap the center of the swag with twine for extra hold.
6. Fill in any gaps or spaces in your swag with extra bundles.
7. Wrap the swag one more time with twine to secure everything in place.
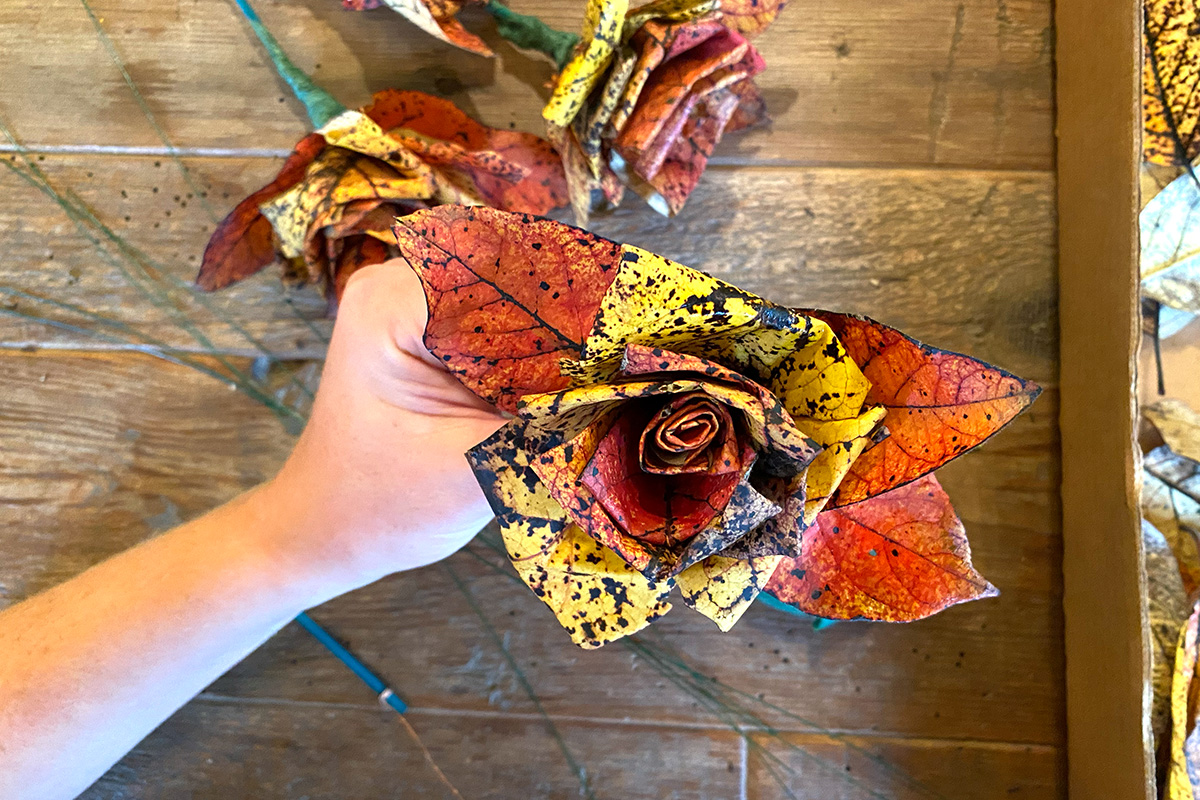
8. Add any other decorative elements you wish to the swag! We created fall leaf flowers to add to the center of the swag. Check out the Fall Leaf Flower DIY project here.
9. Hang up your fall swag on your front door, over your mantle, or anywhere else around your property!

