Directions
1. Gather and trim your flowers (we tried zinnia, anemone, echinacea and hydrangea)
2. Pour a layer of silica at least 1 inch deep into the plastic tub.
3. Press the flowers into the silica. Make sure the petals are supported by the silica underneath. This prevents cracking when they become dry and brittle.
4. Gently pour silica on top of the flowers until they are covered.
5. Place the lid on the tub and store in a dry place out of the sun.
6. Check on the flowers every day to see how they’re doing. Our flowers took a few days to dry. Drying times will vary based on humidity and the types of flowers used.
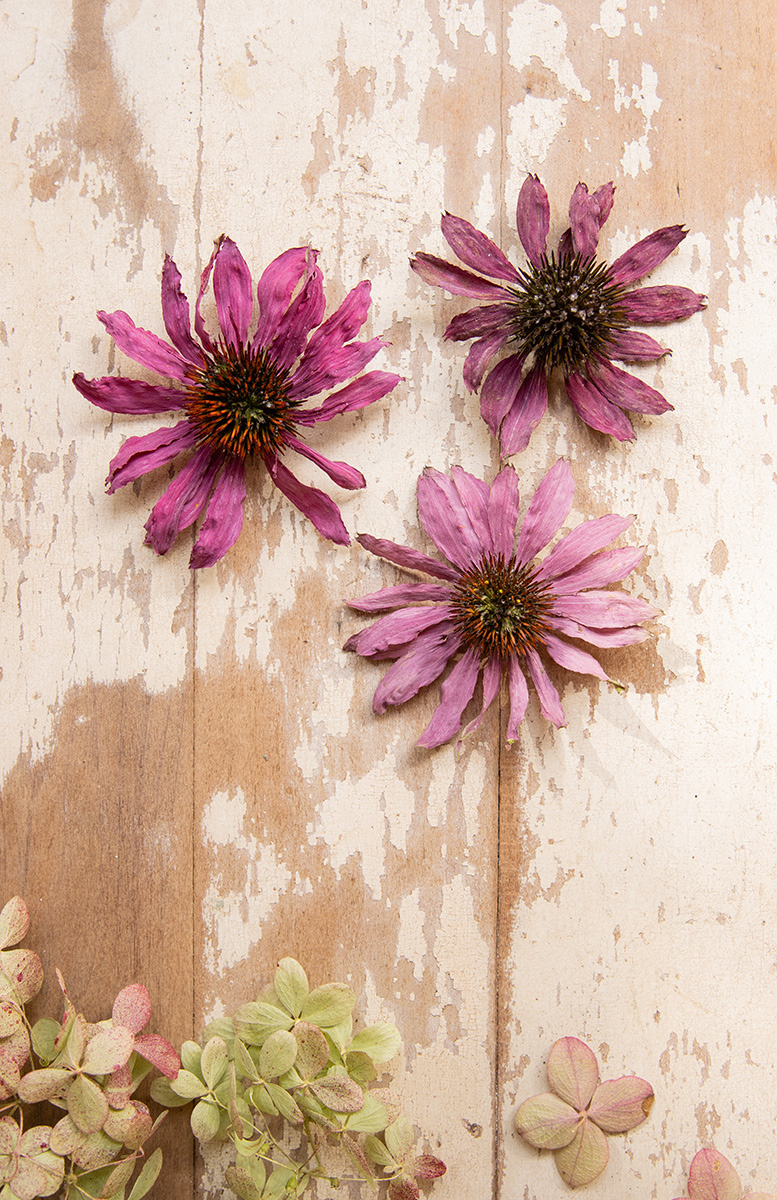
7. Once the flowers are dry, remove them from the silica. Gently shake or use a brush to remove any remaining silica.
8. Use the flowers in all your fall craft projects!
 Silica Dried Flowers
You’ll Need
• Plastic tub with a tight-fitting lid
• Silica gel crystals
• Cup or scoop
• Floral spray paint
• Newspaper
• Tweezers and a small brush
• Flowers with low moisture content

