
Video: Step-by-Step Concrete Pumpkin
Completion Time: 24hrs
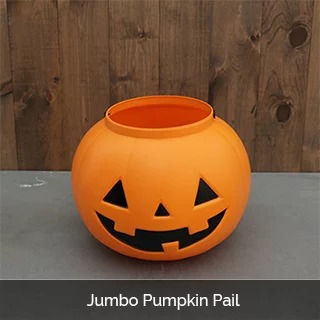
Concrete is an easy to work with and long-lasting material with loads of potential for DIY projects. In this video we show you how to make your own heavy duty Halloween-themed concrete pumpkin planter by using a common jumbo plastic pumpkin candy pail as a mold.
Make sure you have a sturdy level surface to work on and a work area that can be left undisturbed for 24 hours while concrete cures and hardens.
Scroll down for a supply list and complete written instructions.
![]()


2. Mortar Mix (We went with mortar mix over typical concrete mix because mortar doesn’t contain rock chippings and gravel, creating a smoother final surface)
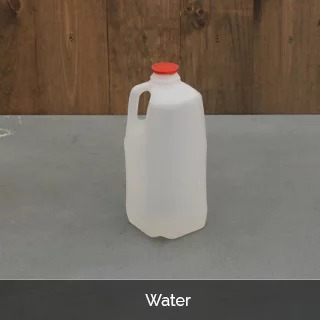
3. Water (You’ll want to have a water source close by as you mix your mortar)
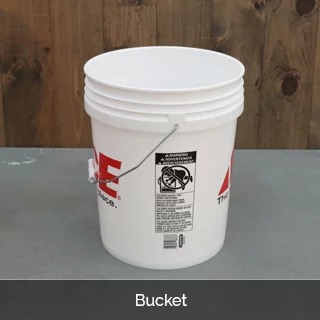
4. Bucket (A 5 gallon bucket will do fine)
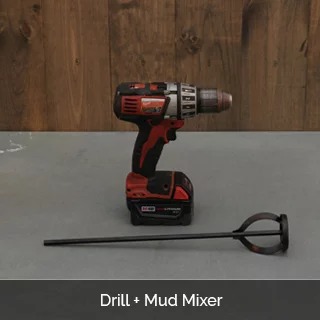
5. Drill + Mud Mixer
6. Small Pail
7. Oil Spray (We used an olive oil cooking spray)
8. Trowel
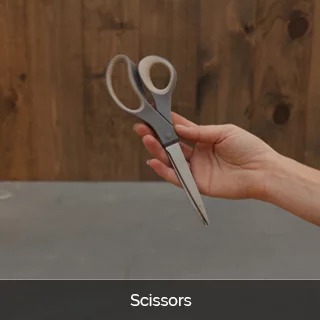
9. Scissors
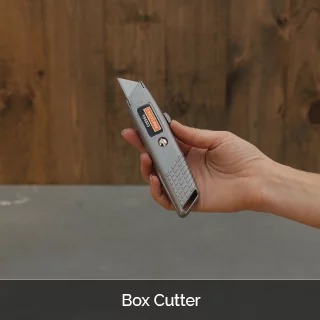
10. Box Cutter
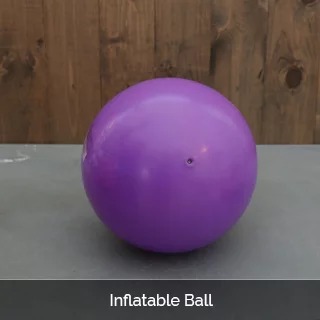
11. Inflatable Ball (Make sure that the ball you use is made of a durable rubber or plastic, like a kickball or exercise ball. It should also have an inflation valve so that the ball can be deflated and re-inflated)
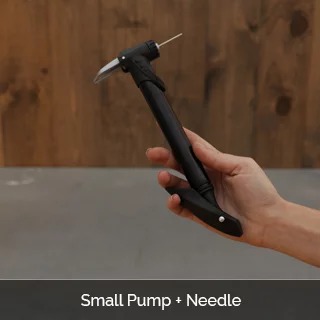
12. Small Pump + Needle
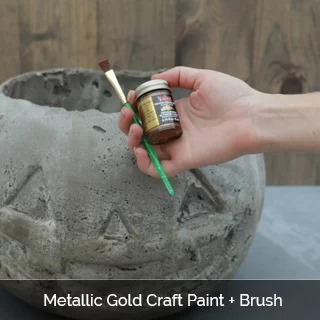
13. Gold Enamel Paint + Brush
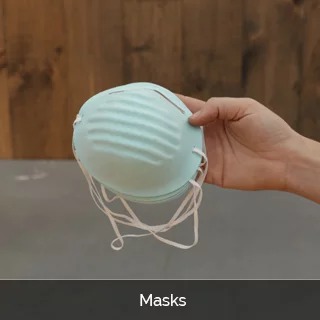
14. Respirator Masks (Mortar mix is a fine powder. Make sure you wear a respirator when working to avoid inhaling it)
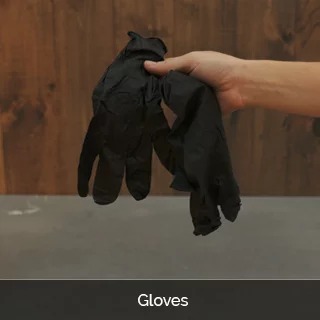
15. Gloves
16. Masonry Drill Bit (Optional) If you choose to drill a drainage hole in concrete, you’ll need the special bit.
![]()
1. Mix 2-3 pounds of mortar for the planter base
If you’ve never mixed cement or mortar before, don’t sweat, it’s easy! Water+mortar mix+time=done. Pour about 8oz of water into your bucket and scoop in your mortar, stirring as you go with the mud mixer. If the mix still feels too dry, add water and mix until the consistency is like a thick dough.
2. Spray the inside of your plastic pumpkin with oil
The oil layer will help to separate the dried concrete from the plastic later.
3. Scoop the mortar into the bottom of the pumpkin to create a base
Try to distribute the mortar mix evenly on the bottom of the pail. Make sure you have at least a 1 inch thick mortar base.
4. Let the mortar base cure for 1-2 hours.
You want the base to be hardened, but not completely cured before moving on to Step 5. The base layer will fuse with the second layer of mortar more strongly if it is not entirely cured.
5. Deflate the sports ball until you can put it into the plastic pumpkin. Spray the ball down with oil, spray down the inside of the pumpkin pail, and place the ball inside the pumpkin.
6. Re-inflate the ball inside of the pumpkin pail until you have about 1-2 inches of empty space between the walls of the pumpkin pail and the balloon.
You will be pouring mortar mix down into the space to form the walls of the planter, so make sure you can access the base you poured aroun the edges.
7. Mix 55-57 pounds of mortar mix
These mix measurements are based on our 16 inch wide, 12 inch tall pumpkin pail. Including the pumpkin base, we used a full 60lb bag of mortar mix for the finished planter. You will need between 1/2- 1 gallon of water handy.
8. Scoop the mortar mix into the space between the pumpkin pail walls and the balloon to form the walls of the planter.
Work your way evenly around the edges to fill the mortar into the pumpkin pail mold. Wearing gloves, you can use your hands to compress the mortar and make sure it is filling in the wall area evenly. Take special care to compress the area around the jack-o-lantern face of the pumpkin. The better compressed the mortar is against the impression of the face in the plastic, the better your finished concrete face will look. Stop when you are satisfied with the height of your filled in mortar planter walls.
9. Let mortar cure for 24 hours
24 hours should be plenty of time for the mortar to fully cure. If you come back and the mortar is still soft to the touch, give it more time until the mortar is fully hardened.
10. Cut open and remove the sports ball
Now that the mortar is hardened, it’s time to free your new planter! Cut into the sports ball to deflate it and remove it.
11. Cut apart the plastic pumpkin pail
Using a box cutter with a fresh blade, score the plastic pumpkin pail into sections that you can pull apart to reveal the concrete planter inside.
12. Drill a drainage hole (Optional)
If you’re planning on planting directly into your concrete planter, a drainage hole is a good idea. You’ll need a masonry drill bit for the job. A drill bit with a tungsten carbide tip is recommended.
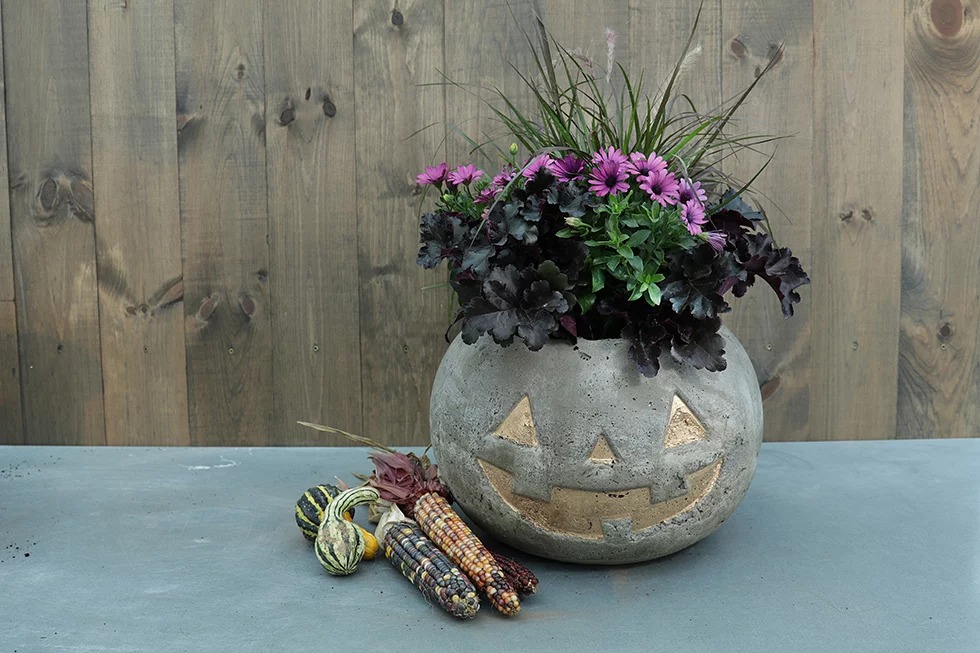
13. Paint the face
A metallic gold paint works great to accentuate the face of the pumpkin and really brings it to life.
13. Plant it!
Plant the spooky planter with some cold-tolerant fall plants. We planted Soprano® Purple Osteospermum, Primo Black Pearl Heuchera, and Graceful Grasses® Purple Fountain Grass Pennisetum