
MATERIALS
• For the sides: Seven 1”x6″x8′
• For the bottom: Two 2”x8”x8′
• For the brace pieces: One 1”x2”x12′
• 2 1/2”-3″, 1 1/2” & 1” screws
• Optional additional bracing: One 1”x1”x6′
• Six 2” caster wheels
• Wood Stain
TOOLS
• Power Drill
• Spade Bit
• Circular Saw
• Drop Cloth
• Paint Brush
• Rags
TIPS
• Give Yourself Ample Workspace. This is a very large planter, designed to make a statement on a big patio space. You’ll want to clear out a nice big space to put this piece together.
• Stain Outside. You’ll want to stain outdoors for maximum ventilation. If you find you’re getting a headache while staining, stop and come back to the project later, or ask someone to help you. Stain fumes can be quite noxious.


Brace Yourself
Measure brace pieces. Cut 8 lengths of about 15” for the side braces and 3 lengths of about 13″
for the bottom braces.

Cut Em
Cut the brace pieces with a rotary saw.

Glue the Side Boards
Lay out the side boards side-by-side in two groups of 3, setting the 7th board aside. Lay the two bottom boards side-by-side and spread wood glue along the edges where they meet.

Assemble the Planter Bottom
Starting with the bottom boards, make sure the boards are pressed together snugly and attach your two brace pieces to them with 1 1/2” screws. You may want to pre-drill the holes to make this process easier. You can also spread wood glue on the brace pieces before attaching for a more secure hold.

Assemble the Sides
Repeat step 4 with the side boards, using two of your 15” brace pieces per side (reserve 4 for later). Make sure to place the braces flush to one side (they won’t reach the top of the other side). Also make sure to place your brace pieces in a different place then the brace pieces on the bottom boards so that they don’t bump into each other when you put the whole thing together.

Cut Pieces for the Ends of the Planter
Measure out lengths of your remaining 1”x6”x8’ for the end panels. You will need 6 lengths of 13.5”.

Cut Pieces for the Ends of the Planter
Lay your end pieces next to each other in groups of three and wood glue between each board and under your two brace pieces for each side. Place the brace pieces flush to the edge of the end panels and flush to the bottom edge.

Assemble the End Pieces
Screw the brace pieces down with 1 1/2” screws, pre-drilling as needed.

Attach Side and End Pieces
Attach the side and end panels together at a 90° using 1 1/2” screws, pre-drilling as needed, to form a rectangle. Make sure to place all the flush edges of the brace pieces on the side that will be the bottom of the planter (this way the brace pieces won’t be visible once the container is planted up.

Attach the Bottom Panel
With the bottom side flipped up, place the bottom panels brace-side-down on the container and attach using 2 1/2” – 3” screws.

Attach the Caster Wheels
Place the 6 caster wheels on the bottom of the planter with one at each corner and two in the
middle. Screw on with 1” screws.

Drill Drainage Holes
Using your spade bit, drill drainage holes into the bottom of the container. 6-8 holes spaced evenly across the bottom panel will do.

Optional: Bracing Pieces
You may want to add additional bracing to the inside of the container to prevent bowing. We just used a 1”x1” stake and cut a few braces to fit snugly between the two sides. We screwed them in place from the outside using 2” screws.

Optional: Stain the Planter
Use a wood stain of your choice. We used a Minwax Jacobean stain mixed with a gray stain to get a rich, weathered look. With the planter upside down, brush the wood stain on, rubbing excess stain off with a rag as you go. Allow to dry for 24 hours.

Plant It Up!
Position the planter where you want it, fill with soil, and you’re ready to plant! Check out the slideshow below to learn more about the plants we used.


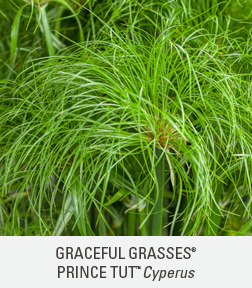


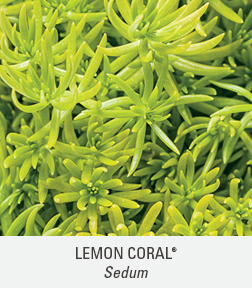


This slideshow features all the plants in the patio scenes above. Click a plant for more information.
