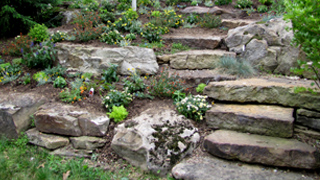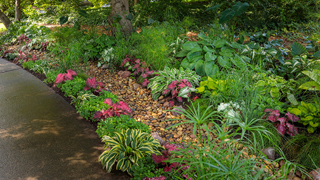
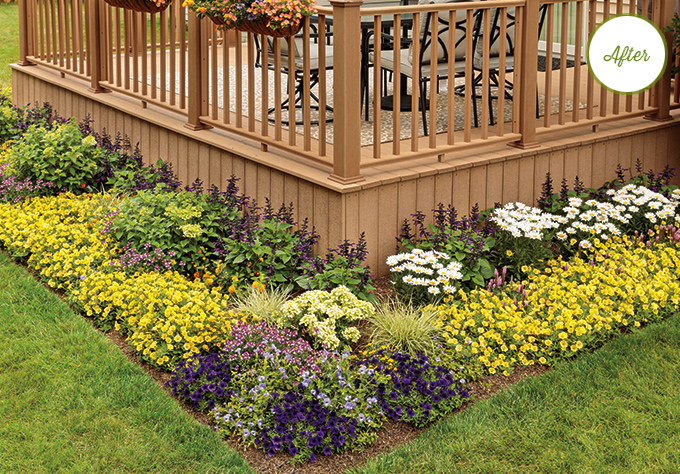
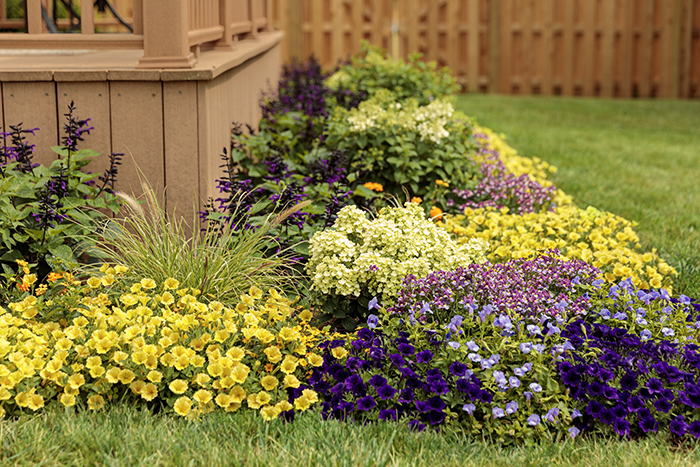
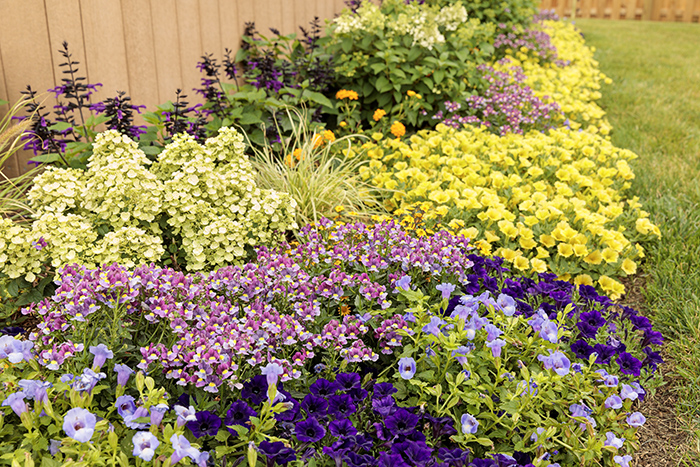
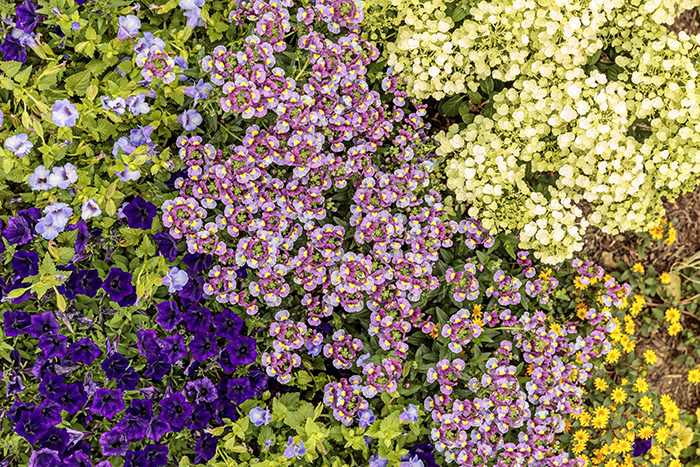
Landscape Makeover
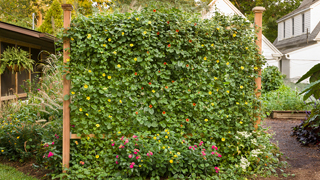
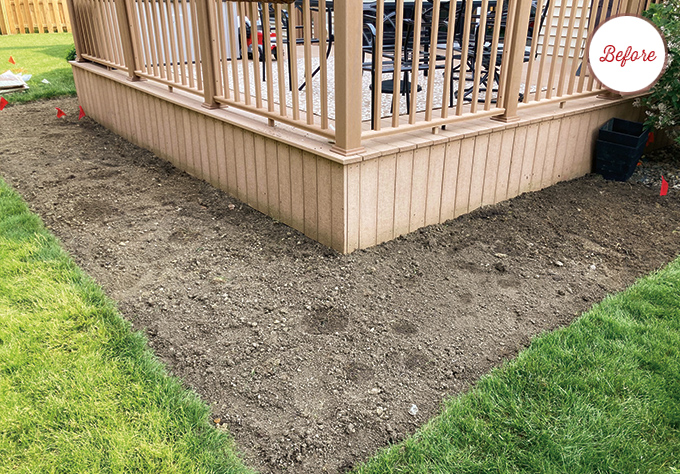
A busy young family inherited a blank slate when they moved to this home, but they wanted to make it their own. In a single season, they created this full sun bed by first marking off the space, then removing the sod and planting anchor perennials and hydrangeas. Low maintenance annuals will fill the gaps until the hardy plants fill in. The Sunshine State recipe adorns the deck rail to bring in pollinators and hummingbirds where the kids can watch them up close.
Check out the step-by-step guide of this landscape makeover below and learn how to do something similar in your own yard!
• Step-by-Step Guide •

• Step 1 •
MEASURE & MARK THE AREA FOR YOUR NEW BED
Measure the area where you’ll be creating your new garden bed. Mark the corners and edges of the area off with sticks, then tie string between the sticks to make straight guidelines for the bed border.
When planning out your new garden bed, be sure to check with your local utility service to make sure there are no hidden lines that could be cut or damaged by a shovel or tiller.

• Step 2 •
REMOVE SOD
Using a square-point shovel, cut into the sod along your guidelines. Dig up the grass, making sure to get under the grass roots.

• Step 3 •
TILL THE SOIL
Once the sod layer is removed, use a tiller to break up the soil so that it becomes more workable. Be sure to level the soil for a smooth surface before planting.
Optional: Amend soil as needed.

• Step 4 •
PLAN OUT WHERE TO PLACE YOUR PLANTS
Before you start to plant, map out your new garden bed by placing the plants (still in their containers) where you intend to plant to get an idea of how the final bed will look. Consult the plant tags for spacing, vigor, and care information.

• Step 5 •
DIG HOLES AND PLANT THE BED
Dig holes that are larger than your plant’s root base to allow young roots to spread out and grow easily. As you plant, loosen the root ball of each plant to help the roots acclimate once they are planted. Soak each plant thoroughly at the base after planting to prevent shock and to make sure that the surrounding soil has enough moisture. This will prevent the surrounding soil from wicking moisture away from the new planting.

• Step 6 •
IRRIGATION & MULCHING
With all plants now planted and watered in, there are a few optional things you could do to wrap up the project. You could install a drip irrigation system to automate watering going forward. You may also choose to mulch your garden bed, which can help the soil retain moisture and help to control weeds.
• What We Planted •
PLANT LIST
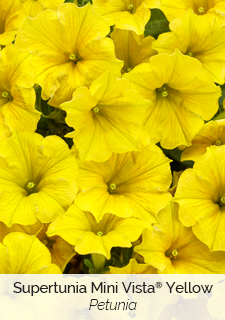


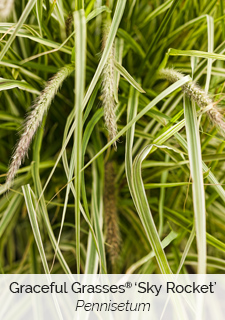
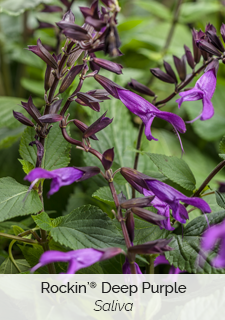

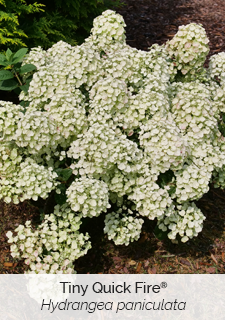
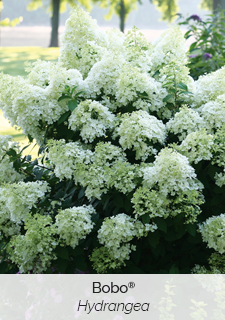

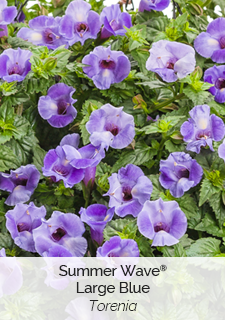
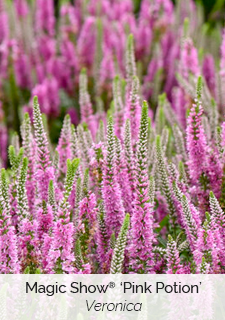
Click on any image to learn more about that variety
USEFUL LINKS