Rain Garden Solution
After a heavy rain, if you notice that water tends to pour off your roof, rush down your driveway and end up in the city sewer, a rain garden could be a healthy solution. These shallow depressions are designed to channel and slow the rain down so it can be filtered naturally through the soil. They remain wet for a day or two, then are dry until it rains again. As long as you locate them away from your home’s foundation, a rain garden can be constructed in sun or shade. Follow our step by step guide below to learn how you can rehabilitate an area that tends to collect water and turn it into a lush and beautiful landscape.
• Step-by-Step Guide •
• Step 1 •
IDENTIFY THE PROBLEM AREA
Take a look around your property to point out any potential area where water may accumulate. These areas are easy to spot after a heavy rain.
A problem area could be a ditch along the driveway, or a depression at the bottom of a slope.
These areas may be eyesores, as excess water drowns plants and grass and creates bog-like conditions.

This shaded area along a driveway collects water during heavy rains, preventing grass or plants from growing. But it can be rehabilitated!
• Step 2 •
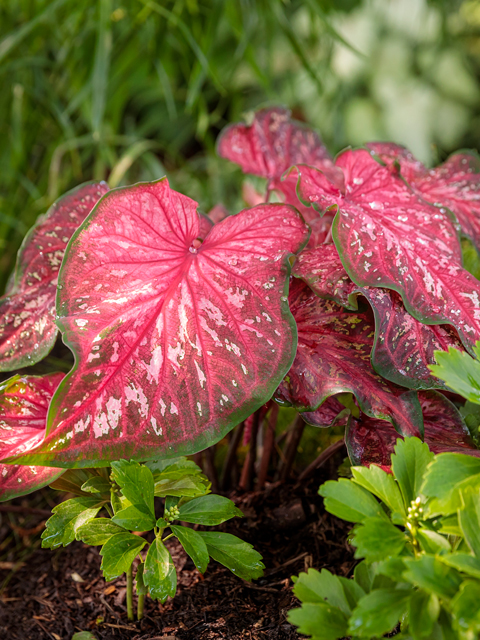
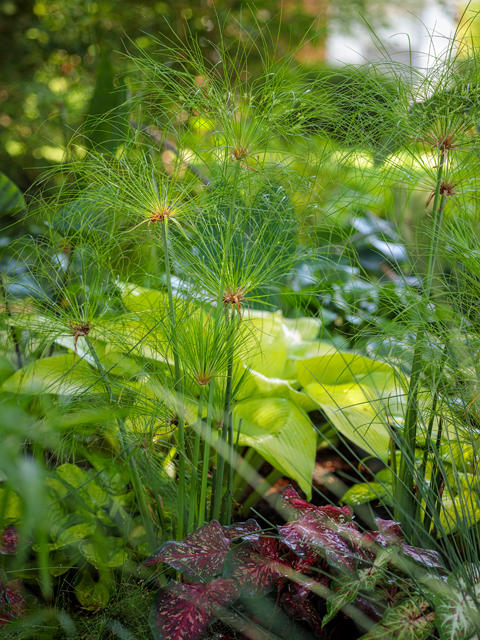
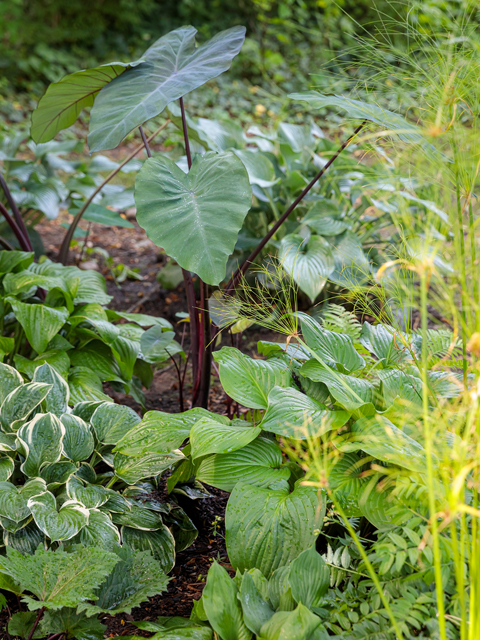
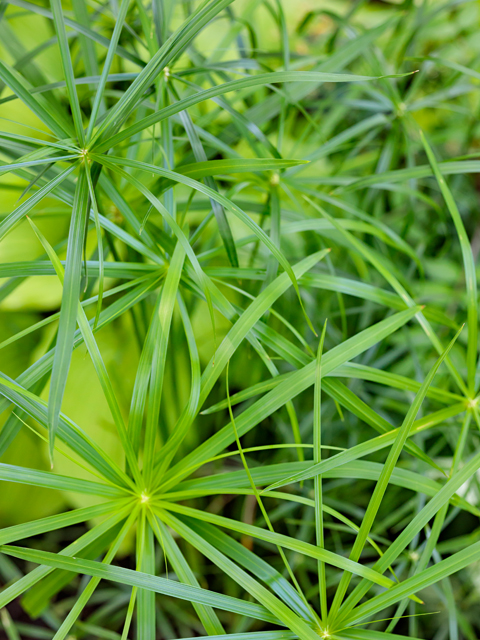
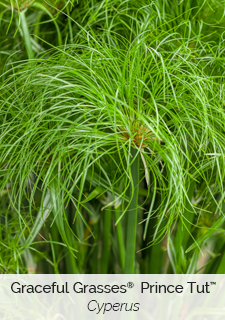
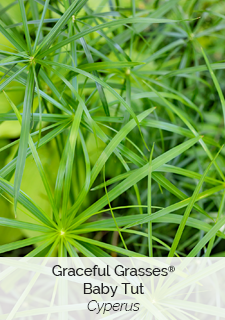
CHOOSE PLANTS ACCORDING TO LIGHT CONDITIONS
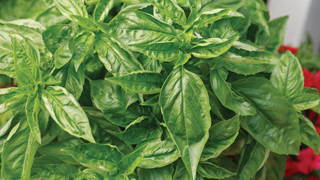
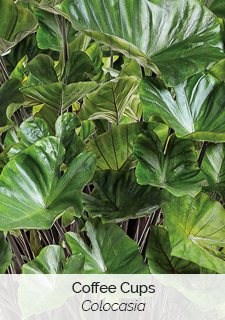
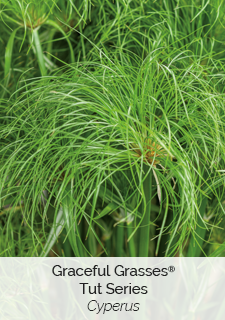
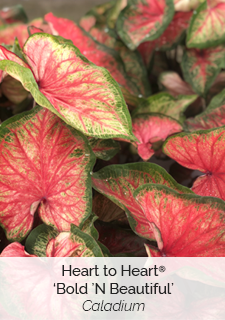
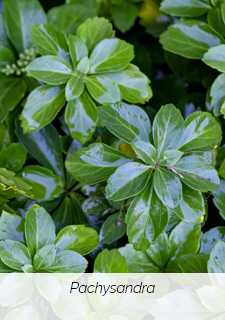
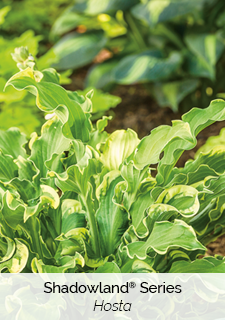
Assess how many hours of sunlight the area you’ll be planting receives. Typically, 6+ hours of sunlight means ‘Full Sun,’ and 0-6 hours of sunlight means ‘Part Shade-Shade.’ Consult our plant lists for planting suggestions.
![]()


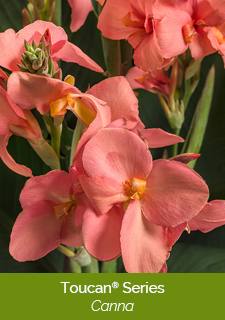


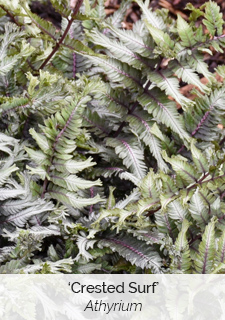

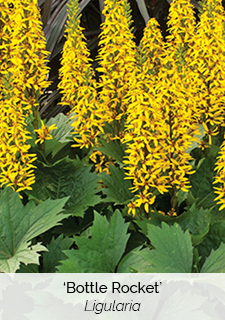

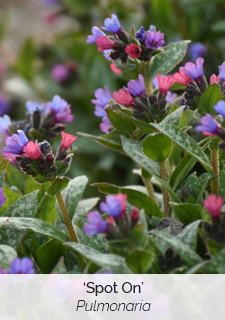


Click on images in the slideshows to learn more about those varieties
• Step 3 •
CLEAN OUT THE PROBLEM AREA
Clean out the area to a depth of 4-8″ (deeper in sandy soil). You’ll want to remove any rocks or debris.

The area has been cleared of rocks and debris to a depth of 4-8″.
• Step 4 •
LAY DOWN LANDSCAPE CLOTH
Laying down landscape fabric prevents stones and soil from mixing, and keeps unwanted weeds from proliferating.

The cleaned area now covered with landscaping cloth and ready to be filled with river rock.
• Step 5 •
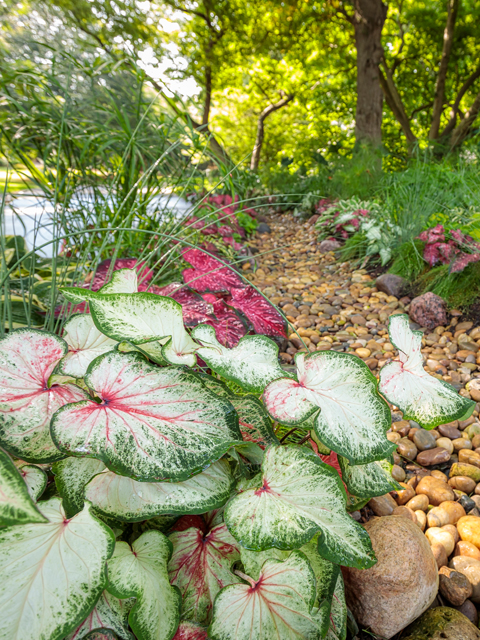
RIVER ROCK
Fill the landscape cloth covered depression with river rock.

The landscape cloth covered area being filled with river rock.
• Step 6 •
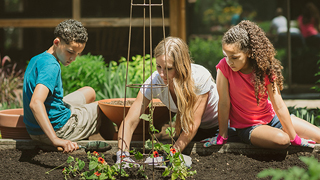
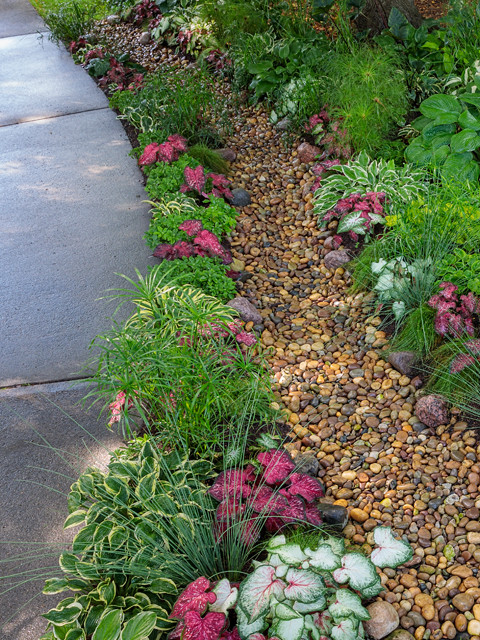
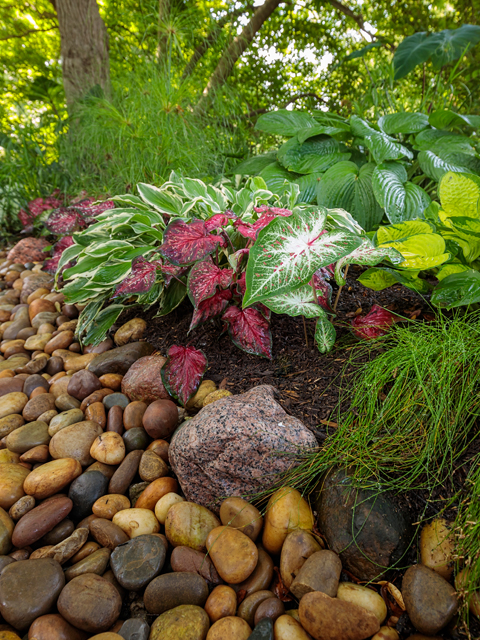
PLANT THE EDGES
Plant your selected sun or shade plants along the edges of the depression.

Planting the edges of the depression.
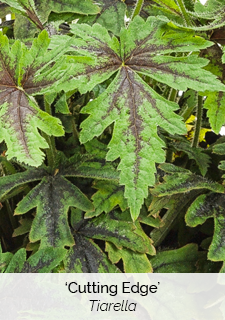
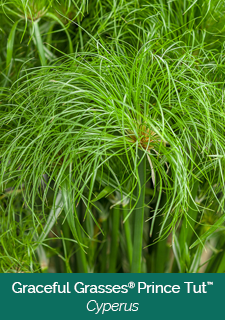
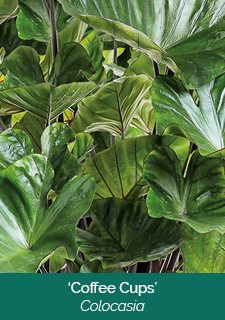
• What We Planted •


USEFUL LINKS